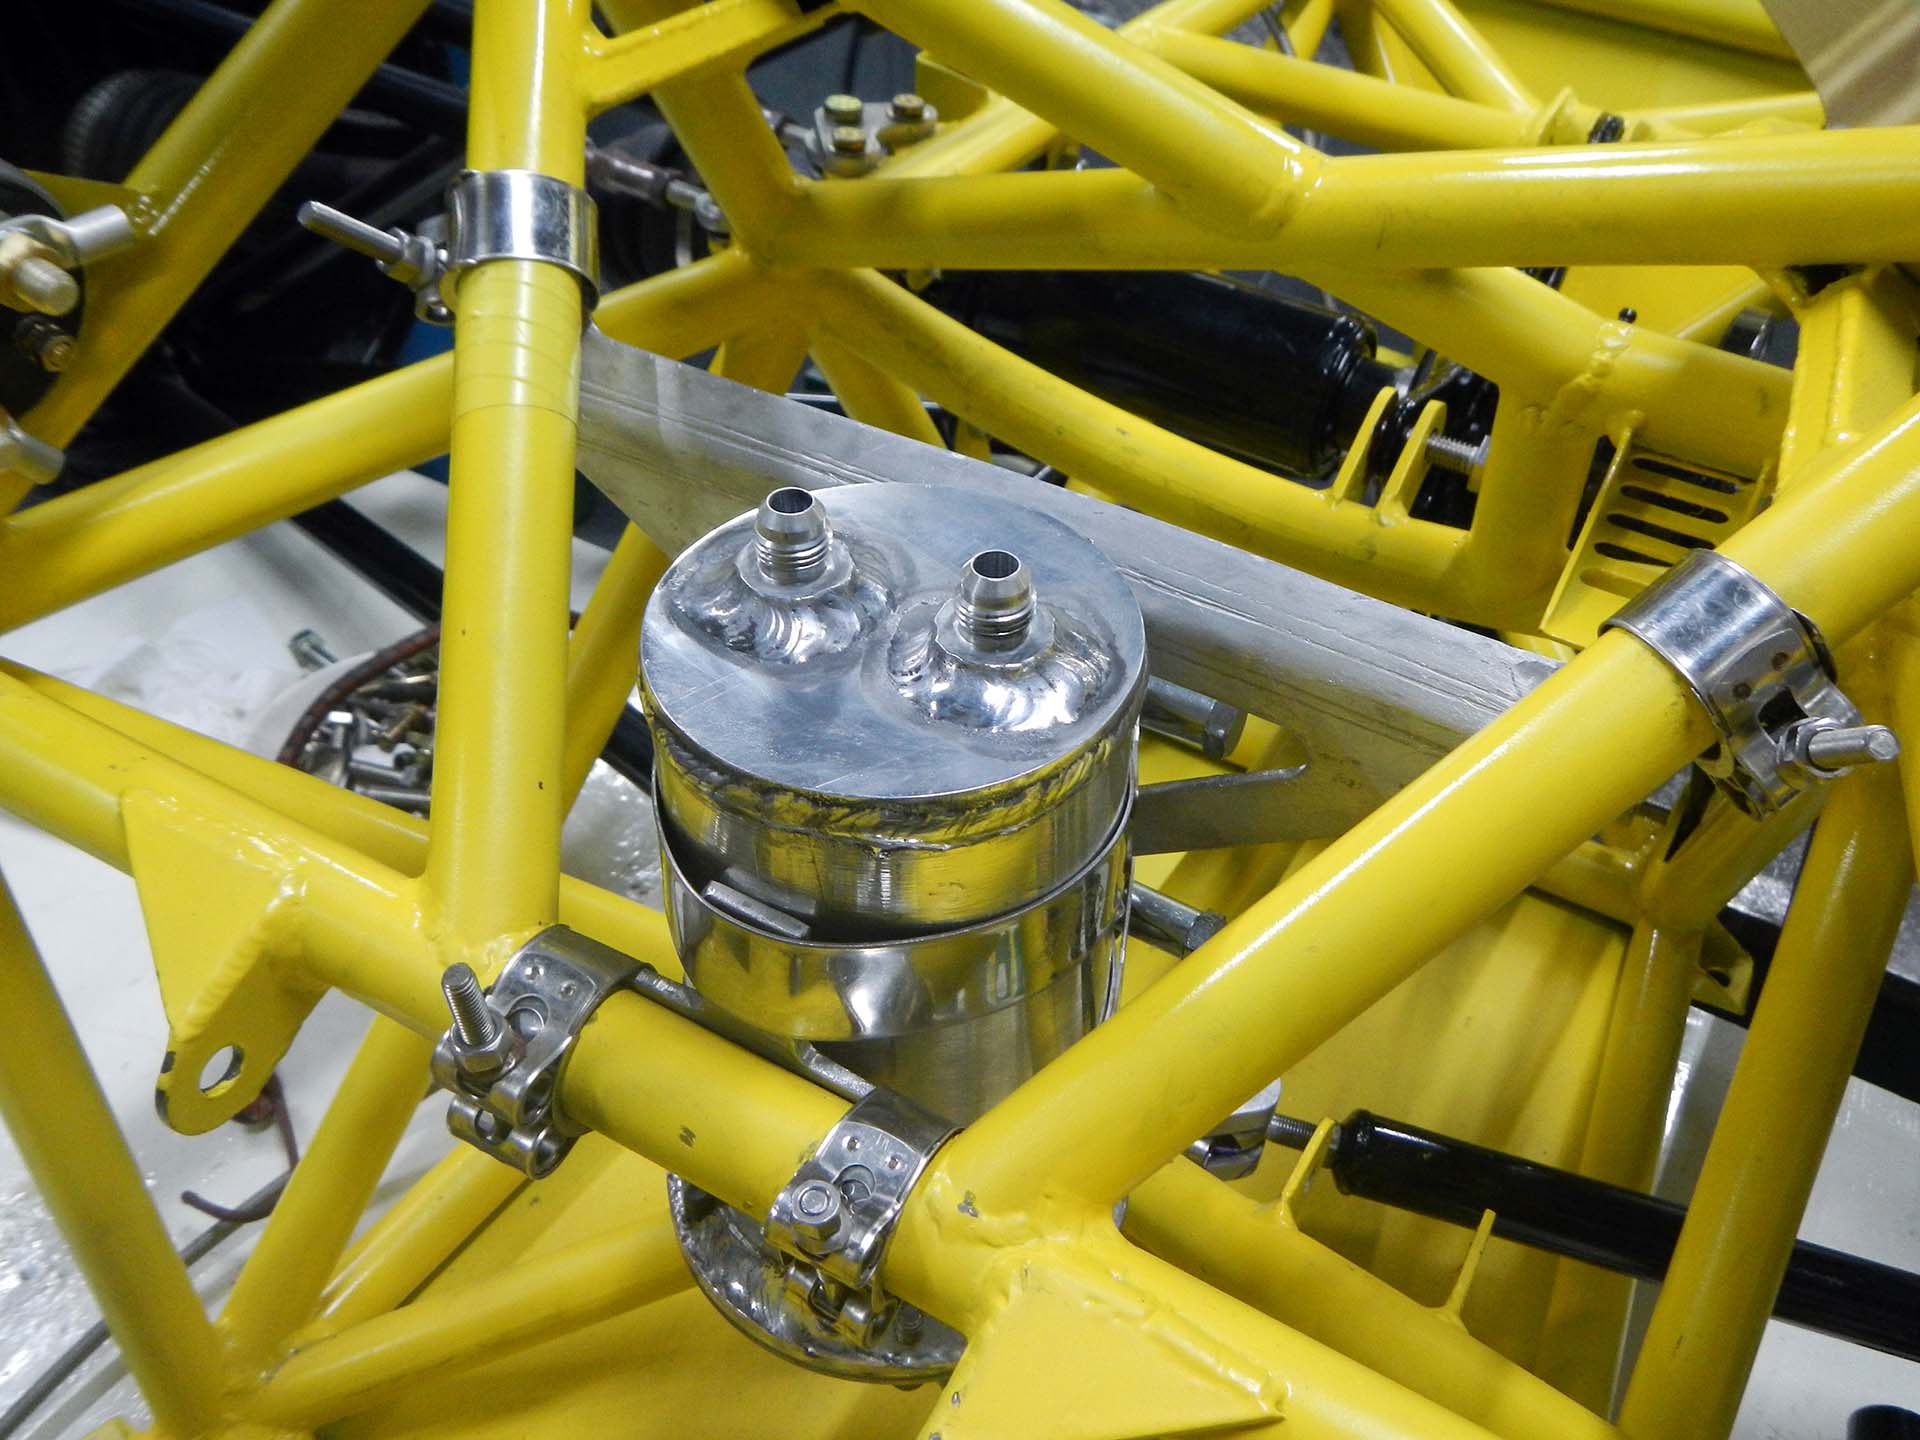
Fuel swirl pot view from right rear
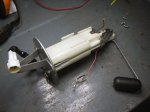
The car uses an OEM Suzuki GSX-R1000 fuel pump mounted in an external swirl pot. The swirl pot is fed by another electric fuel pump that draws from the fuel cell, with excess fuel returned to the fuel cell. The swirl pot will generally be full, providing a buffer in case the pickup in the fuel cell temporarily sucks air during hard cornering or braking. The shape of the swirl pot is tall and narrow, with the fuel drawn from the bottom so that the engine should never experience fuel starvation.
The swirl pot was fabricated from 1/4″ thick aluminum plate and tube stock just big enough to fit the OEM fuel pump inside. Welding was done by an outside professional welder. An interesting fact about the Suzuki fuel pump, discovered a bit late, is that the five bolts appear to be evenly spaced but aren’t. One of them is off by a bit, probably so the pump can only be installed in a single orientation. This necessitated welding one of the holes closed and re-drilling it.
The OEM fuel pump has a large appendage for fuel level sensing which clearly won’t fit into a small swirl pot, so I cut it off. it would be nice to have a level sensor in the swirl pot so I can watch fuel starvation and get enough warning to get back to the pits before I run out of fuel, but I haven’t figured a way to do this yet.
-
- Fuel pump before trimming
-

- Level sensor bracket was cut like this
-

- Fuel pump with level sensor removed
-
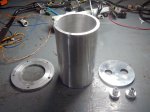
- View of disassembled swirl pot components before welding
-
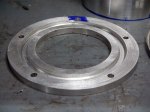
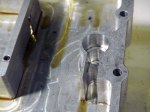
- Swirl pot lower flange, showing O-ring groove
-

- Test fitting swirl pot components
-
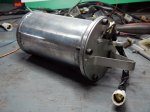
- Finished swirl pot with OEM fuel pump installed, lower view
-

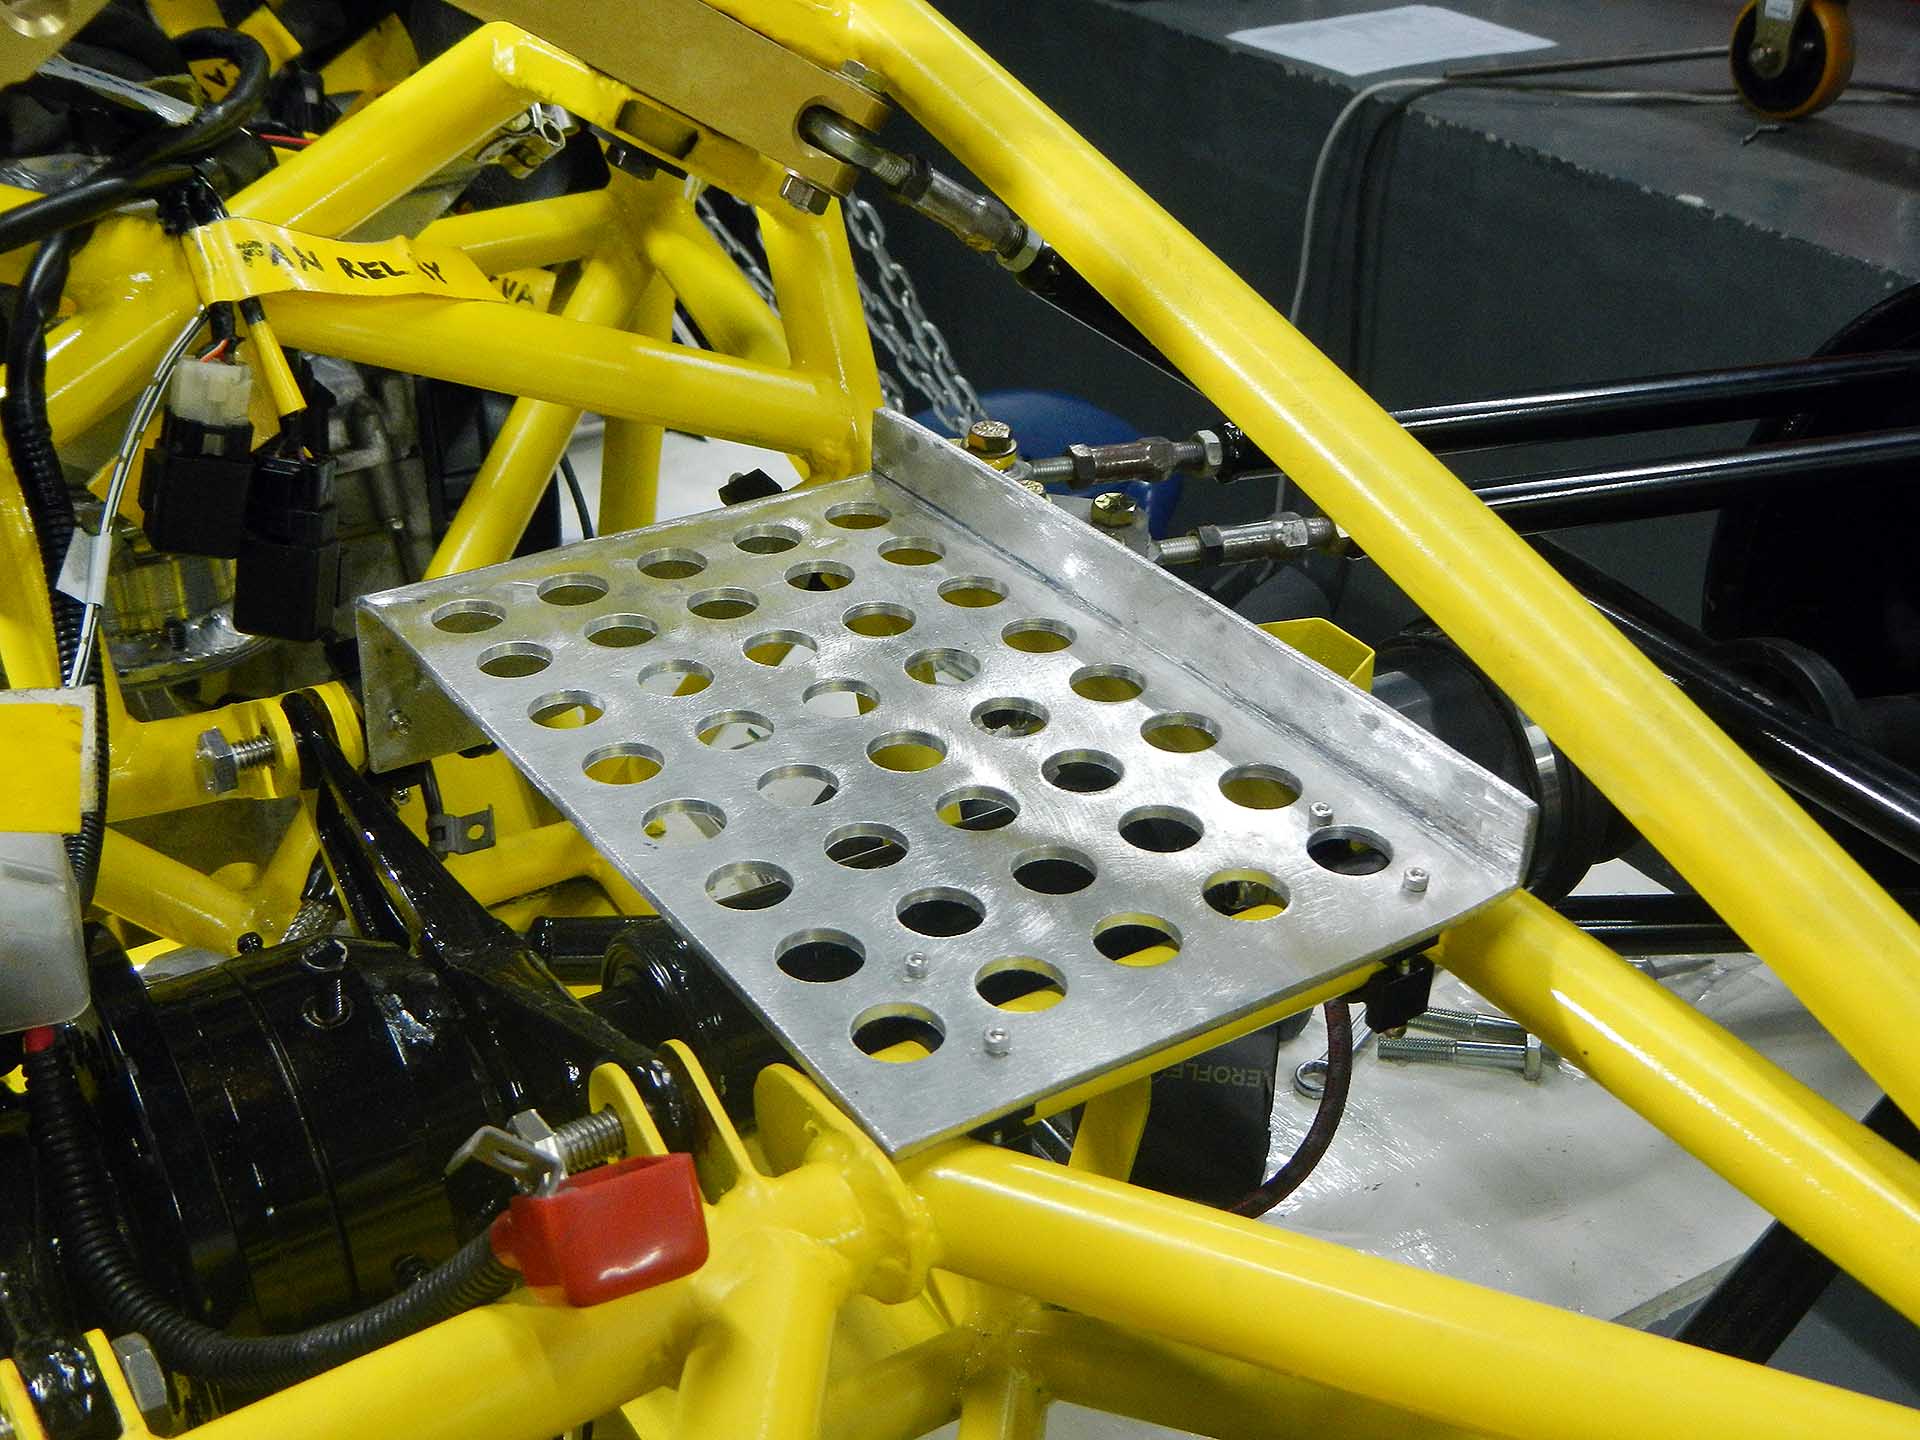
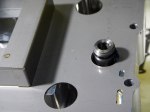
- Starting the blank for swirl pot mount
-
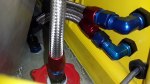
- Building braided stainless steel fuel hoses with AN fittings.
-

- Drilling the firewall for fuel lines
-
- Fuel lines from firewall to fuel cell. Bottom line goes to first fuel pump; top line comes back from swirl pot overflow.
-
- Fuel hoses come through engine side of firewall
-

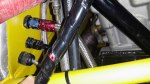
- Low-pressure fuel pump sucks fuel from the fuel cell through a filter to the swirl pot
-

- Swirl pot supply and return lines
-
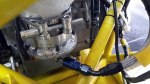
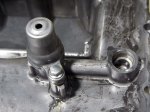
- Fuel supply to engine exits from the bottom of the OEM fuel pump.