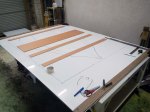
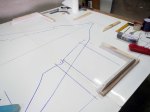
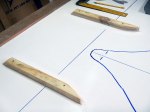
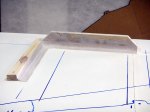
Building the Front Wing & Mounts

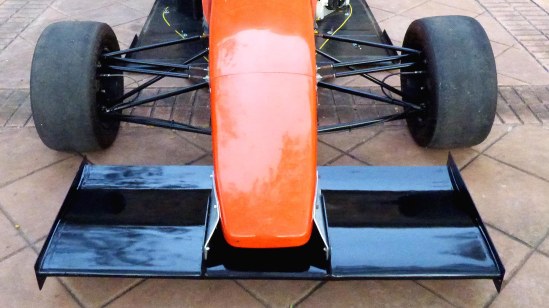
Front Wing

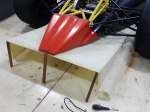
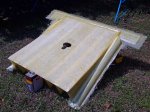
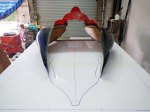
Finished front wing on the car (endplates to be added after setting ride height)

Fabricating a Formula 1000 Race Car Diffuser

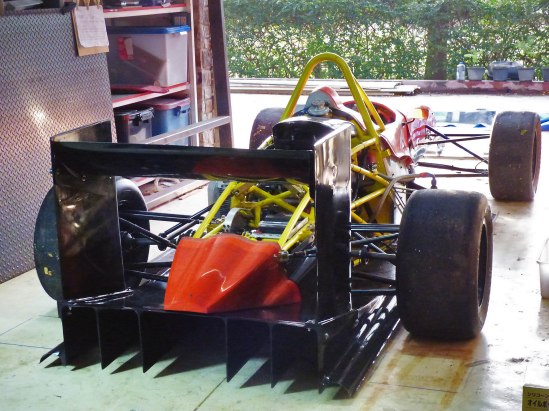
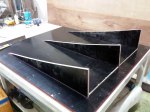
Diffuser

Finished diffuser mounted on car

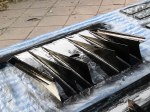
I try to post updates only for completed projects, and since I’ve had several projects in progress it’s been a while since I’ve blogged. The diffuser is finally finished, so here are some pix and a video that explains it all:


Building the Undertray / Floor

Finished Undertray

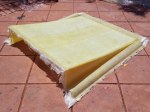
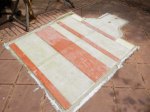
Finished undertray after painting rests in the mold for curing

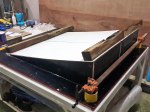
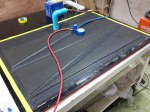
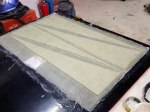
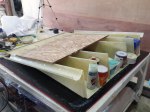
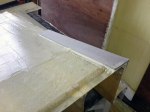
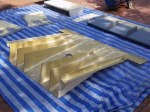
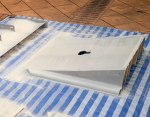
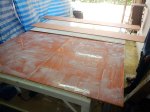
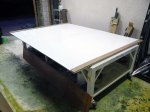
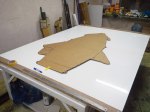
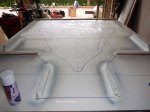
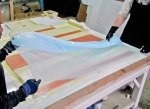
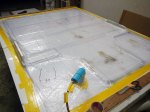
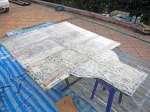
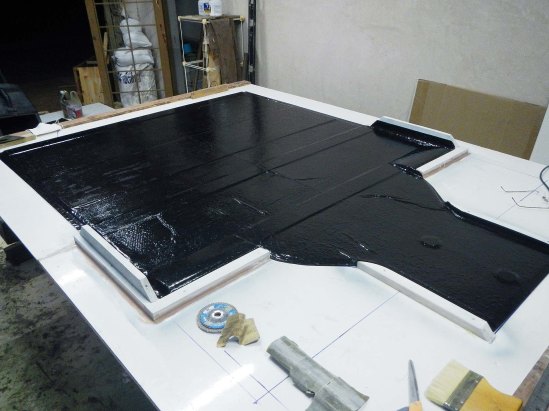
Building the undertray started with building a surface large enough to hold it. It’s larger than it looks, so we had to laminate  decorative plastic laminate onto two 4×8 foot sheets of plywood that had been trimmed to about 3×8 feet each. Then wood to form the side air dams was screwed down, and the radii filled with auto body putty. Next we cut plastic honeycomb and plywood pieces to fit, with the plywood located to pick up the attachment points on the frame and to protect the radiators on either side of the car. I built a hot-wire foam cutter from a tree saw handle, a piece of guitar wire, and an automobile battery charger, which I used to cut foam profiles for the leading edge of the floor. Then we laid the whole thing up with epoxy and two layers of fiberglass on the bottom and one on the top, and vacuum bagged the whole shebang. Vacuum bagging was made more difficult by the random tiny holes in the plastic sheeting, which we expediently fixed by adding a whole second sheet on top of the first.

After debagging we painted it and found out the hard way that you can’t paint enamel over fresh epoxy in a humid climate. It never dried, and had to be scraped off like tar. Epoxy paint worked much better. We then mounted the undertray on the car, drilling mounting points through the plywood in the correct places. We had to fabricate a mount for the front of the undertray, which was a little tricky as we didn’t want to remove the fiberglass body panel under the driver’s legs so everything had to be done from the outside. We fabricated a small pylon from aluminum sheet and pop-riveted and epoxied it to the bottom of the body.

Fabricating the Chain Guard

Chain Guard

Finished chain guard in place

Formula 1000 rules require a chain guard equivalent to 1/4″ aluminum to contain the chain in case of a break. I had the blank laser cut, then bent it on my tubing bender. After bending, it was sliced in two parts for easier access to the chain and rear sprocket, drilled and tapped for an overlapping tab, cross-drilled for mounting holes, and installed.

Foam-Filling the Driver’s Head Surround

Foaming Action

Two-part polyurethane foam expanding to fill the driver’s head surround.

For proper protection in a crash, the driver’s head surround needs to be filled with foam. I placed an aluminum panel where I wanted the bottom of the foam to be, covered everything with plastic sheeting and poured two-part urethane foam into the cavity. The foam generates considerable pressure as it expands and cures, necessitating many iterations of trimming and fitting. I then sat in the car with the HANS device on, followed by many more iterations of trimming and fitting. Once the foam was cut to shape, I covered it in a single layer of fiberglass and epoxy, then painted it.

Fabricating the Halfshaft Collars

Finished Collar

Finished halfshaft collar in place.

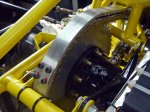
I decided there was too much play between the axle halfshafts and the differential extensions, so I made collars with the precise inner diameter and length necessary to remove all play. I was pleased that I could make them so precisely, even on my old beat-up lathe, that they made an almost airtight seal. I’m showing many of the steps below as a reminder of just how many operations go into making even the simplest-looking parts.

Completing the Chain Tensioner, Rear Sprocket & Shift Linkage

Rear Sprocket

Rear Sprocket in place

Completing the car is now just one long series of small projects. Three are shown here.

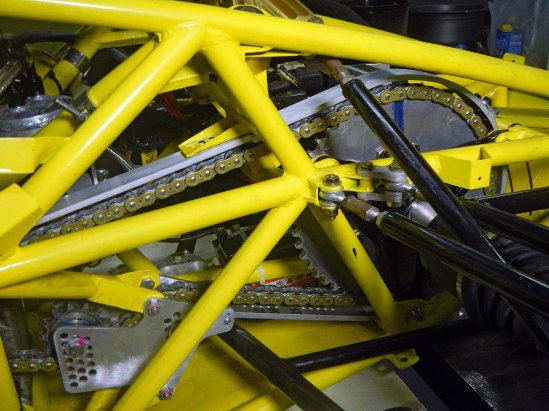
The original chain tensioner design was not able to take up enough slack in the chain. The chain was either too short or too long, no matter how many links I used or where I put the adjustment. I had to come up with a new design with two idler sprockets instead of one, as you can see in this post. The bearings are special ceramic hybrids to handle the extreme chain speeds seen with a GSX-R1000 engine.

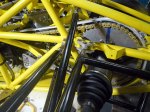
I’ve had a rear sprocket on the car for some time, but that was just for fitting. The lightening holes on that sprocket conflicted with the mounting holes required by the differential, so it wouldn’t have been strong enough. Instead, I ordered a blank sprocket from England and machined the correct mounting holes and center hole, then cut it in half on the bandsaw so that it could be mounted or changed without disassembling the whole rear axle and suspension.

I also built an adapter to go from the auto shift linkage to the transmission gear change lever. I bought a Suzuki GSX-R shift link rod from Ebay, cut off the front, and welded it to a threaded rod. The rod threads into a bushing I made that fits inside the eye of the shift linkage. The sleeve of the shift cable must be held securely, so you can see here the bracket that mounts it to the frame rails.
Mounting the ECU

ECU Mount

Finished ECU mount

I was lucky enough to find some 7075-T651 aircraft aluminum plate, still with the Martin Marietta markings on it. Very useful for miscellaneous parts like this ECU mount. That stuff is strong! Almost as hard to bend as steel, but it makes for a very stiff end result. So I just cut this blank out of the aluminum plate, bent it in my hydraulic press, and added lightness using the milling machine. It mounts to the frame with aluminum clamshell mounts purchased on Ebay.

Youtube Video Update 8

Yet another video update. Here you’ll get a tour around the car pointing out the newest additions, followed by fabricating the fuel swirl pot and mount, the first power-up of the electrical system, mounting components on the instrument panel, drilling the firewall for fuel lines, fabricating braided stainless steel fuel lines, building and installing the throttle pedal cable pull rod and the cable itself, building the ECU mounting platform, and machining the rear sprocket to fit the differential.
Youtube Video Update 8

ECU Platform

ECU mounting platform, with room for more electronics

Swirl Pot

Fuel swirl pot fabricated and mounted

Painting the Frame

Painted Frame

Painted frame, back in the lab

As you’ve probably figured out from looking at some of the photos below, I’ve painted the frame. I used Jotun Penguard 2-part epoxy right over bare metal after cleaning the metal with wire brushes and acetone. It took a few days as I had to let it cure before turning it, and all four sides had to be painted in turn in order to get every spot. No magic here, just lots of elbow grease.