
Time for a photo update showing how I built the cockpit, tube by tube.
-
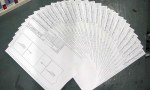
- A complete set of tube drawings for one forumula 1000 cockpit. It’s a lot of work to generate these drawings, but it saves a lot of time in fabrication, and ensures the frame is accurate
-
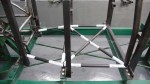
- Test fitting the tubes for the cockpit floor
-
- Now we can see the main roll hoop was fabricated too narrow. The holes on the jigs don’t line up properly with the roll hoop
-
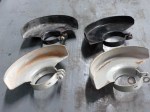
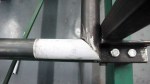
- Found the hidden stash of angle grinder shields removed by my Thai workers. In Thailand, workers just laugh at safety measures. I’ve even had one quit when I insisted he wear eye protection.
-

- Main roll hoop cut and bent to proper size. Sigh…
-

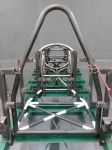
- Test fitting the revised roll hoop
-
- A new bottom member was fabricated for the main roll hoop
-

- Tack welding the revised main roll hoop
-

- Once again test fitting the main roll hoop
-

- Main roll hoop fully welded. Looks much better.
-
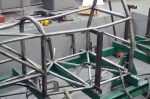
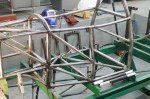
- Four outside cockpit frame rails in place
-

- Left side vertical tube in place
-
- Left front lower diagonal in place
-
- Left front middle horizontal and upper diagonal tubes in place
-
- Right side vertical in place
-
- Right front lower diagonal and middle horizontal tubes in place
-

- Left rear lower diagonal tube in place
-

- Right rear lower diagonal tube in place
-
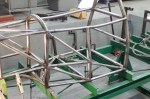
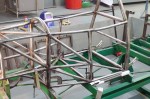
- Two rear middle horizontal tubes in place
-

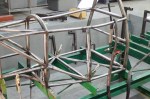
- Main roll hoop brace extensions in place. These are required by SCCA rules to be a minimum of 1″ diameter and 2 mm thickness.
-

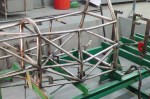
- Two upper rear diagonal tubes in place
-

- Daughter Senna (yes, that’s her real name) tries out the driving position, reports that it “needs work.”
