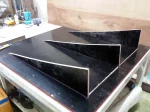
Another view of finished main body.
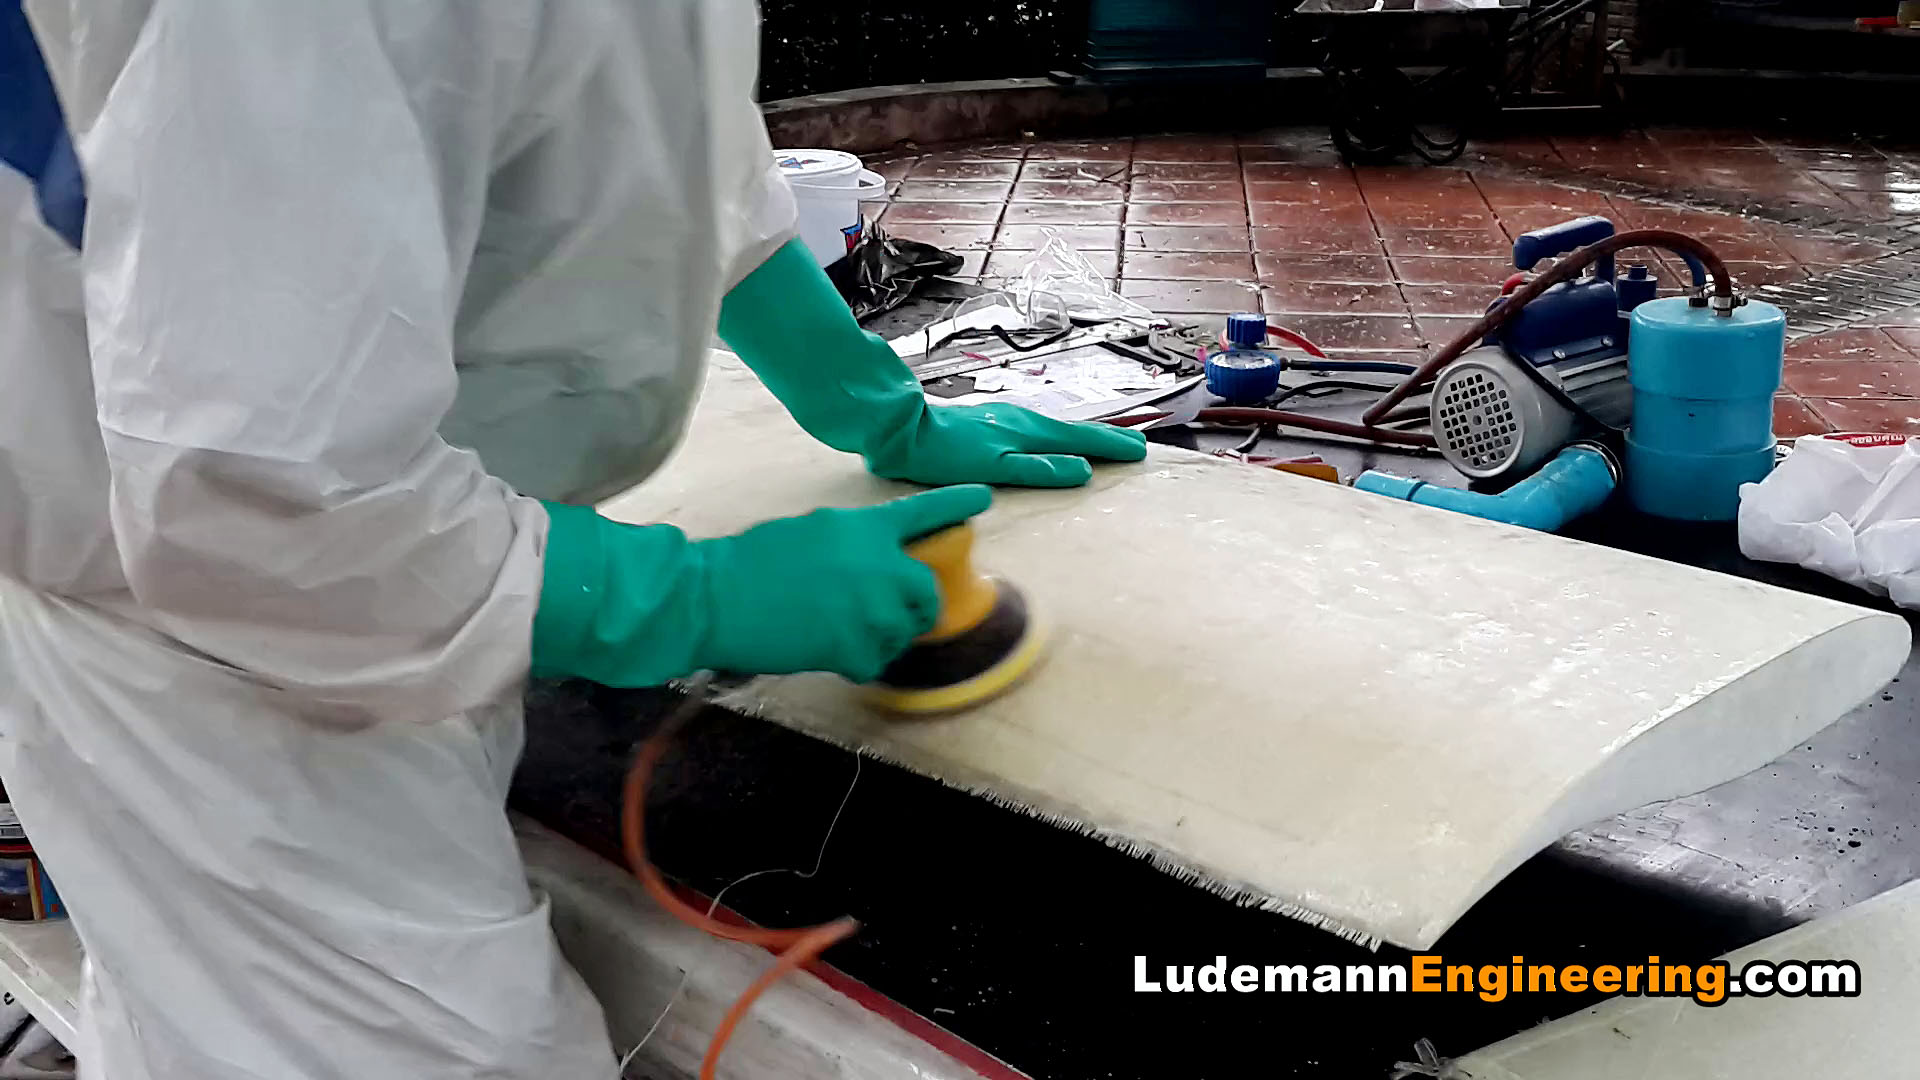
Time to lay up the first set of body panels. In some photos you can see the joggles laid into the molds with duct tape so the panels will overlap smoothly. Nine coats of mold release wax and there were no problems releasing parts from the molds, although at times I did have to work a bit. Each mold required about a day of finishing work to remove ripples due to waviness in the body buck. As I’ve said before, don’t build a body buck the way I did it. Instead, immediately after completing the X-Y grid of cross sections, lay about 3mm of fiberglass on top to give a good solid surface, then use body putty on top of that. You’ll be finished in half the time it took me. The only place you should use foam is where actual carving is required due to the complexity of the shape, like the sidepod air inlets. Yes, I know the main roll hoop forward braces are still not there. Patience…
One problem I found out the hard way is that a chemical in some brands of duct tape inhibits gelcoat curing. In the end, gelcoat that had been in contact with some kinds of duct tape never fully cured and had to be cleaned out with acetone. Also, the joggles formed with duct tape were too sharp for the fiberglass mat to conform to, resulting in bubbles under the gelcoat that have to be scraped out and reworked. Gelcoat is probably more trouble than it’s worth given its weight, so next time I’ll just prime and paint the body panels to finish them. The sharp joggle corners need to be filled in with fiberglass roving before laying mat on top.
-

-
Leg cover mold ready for layup
-

-
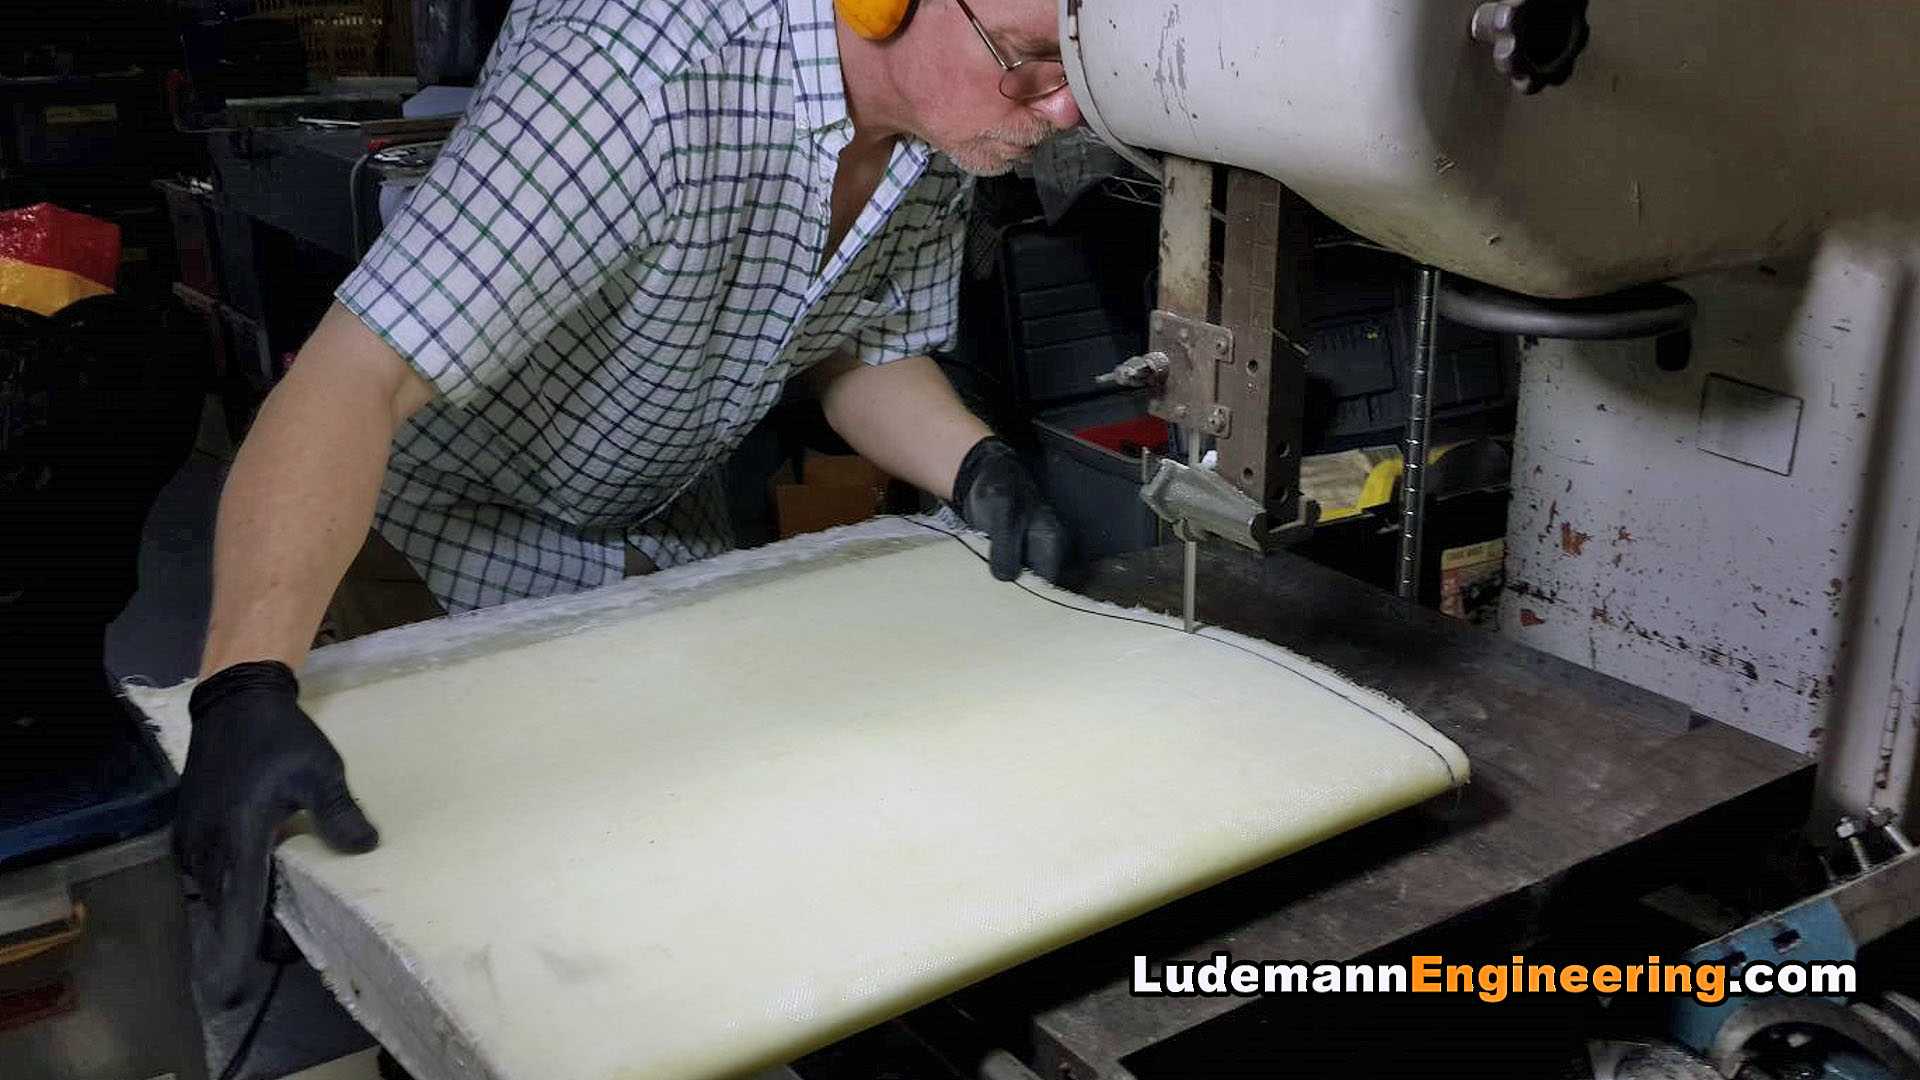
Fiberglass mat for leg cover.
-

-
Finished leg cover, fresh from the mold. No polishing or anything.
-

-
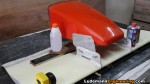
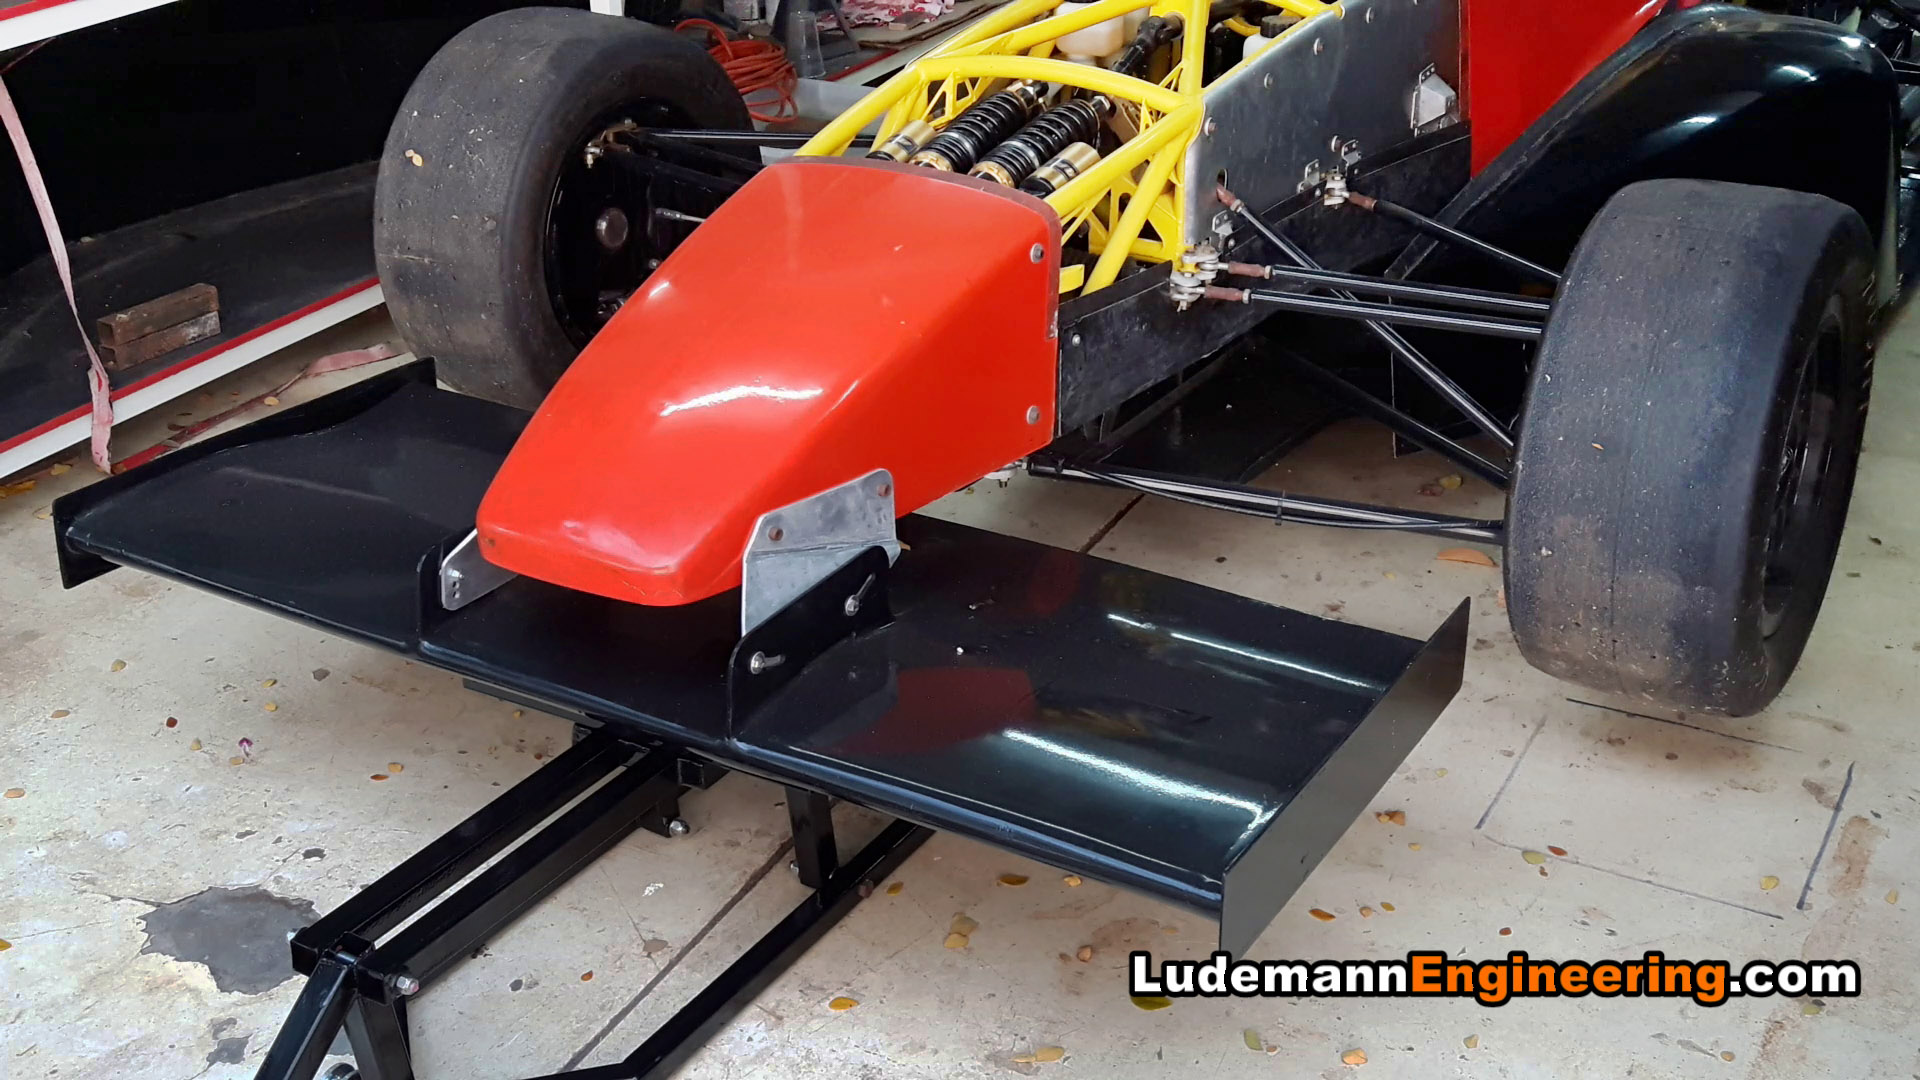
Leg cover test fit onto frame. It fits.
-

-
Engine cover gelcoated
-

-
Engine cover fiberglassed.
-

-
Engine cover test fit on frame.
-

-
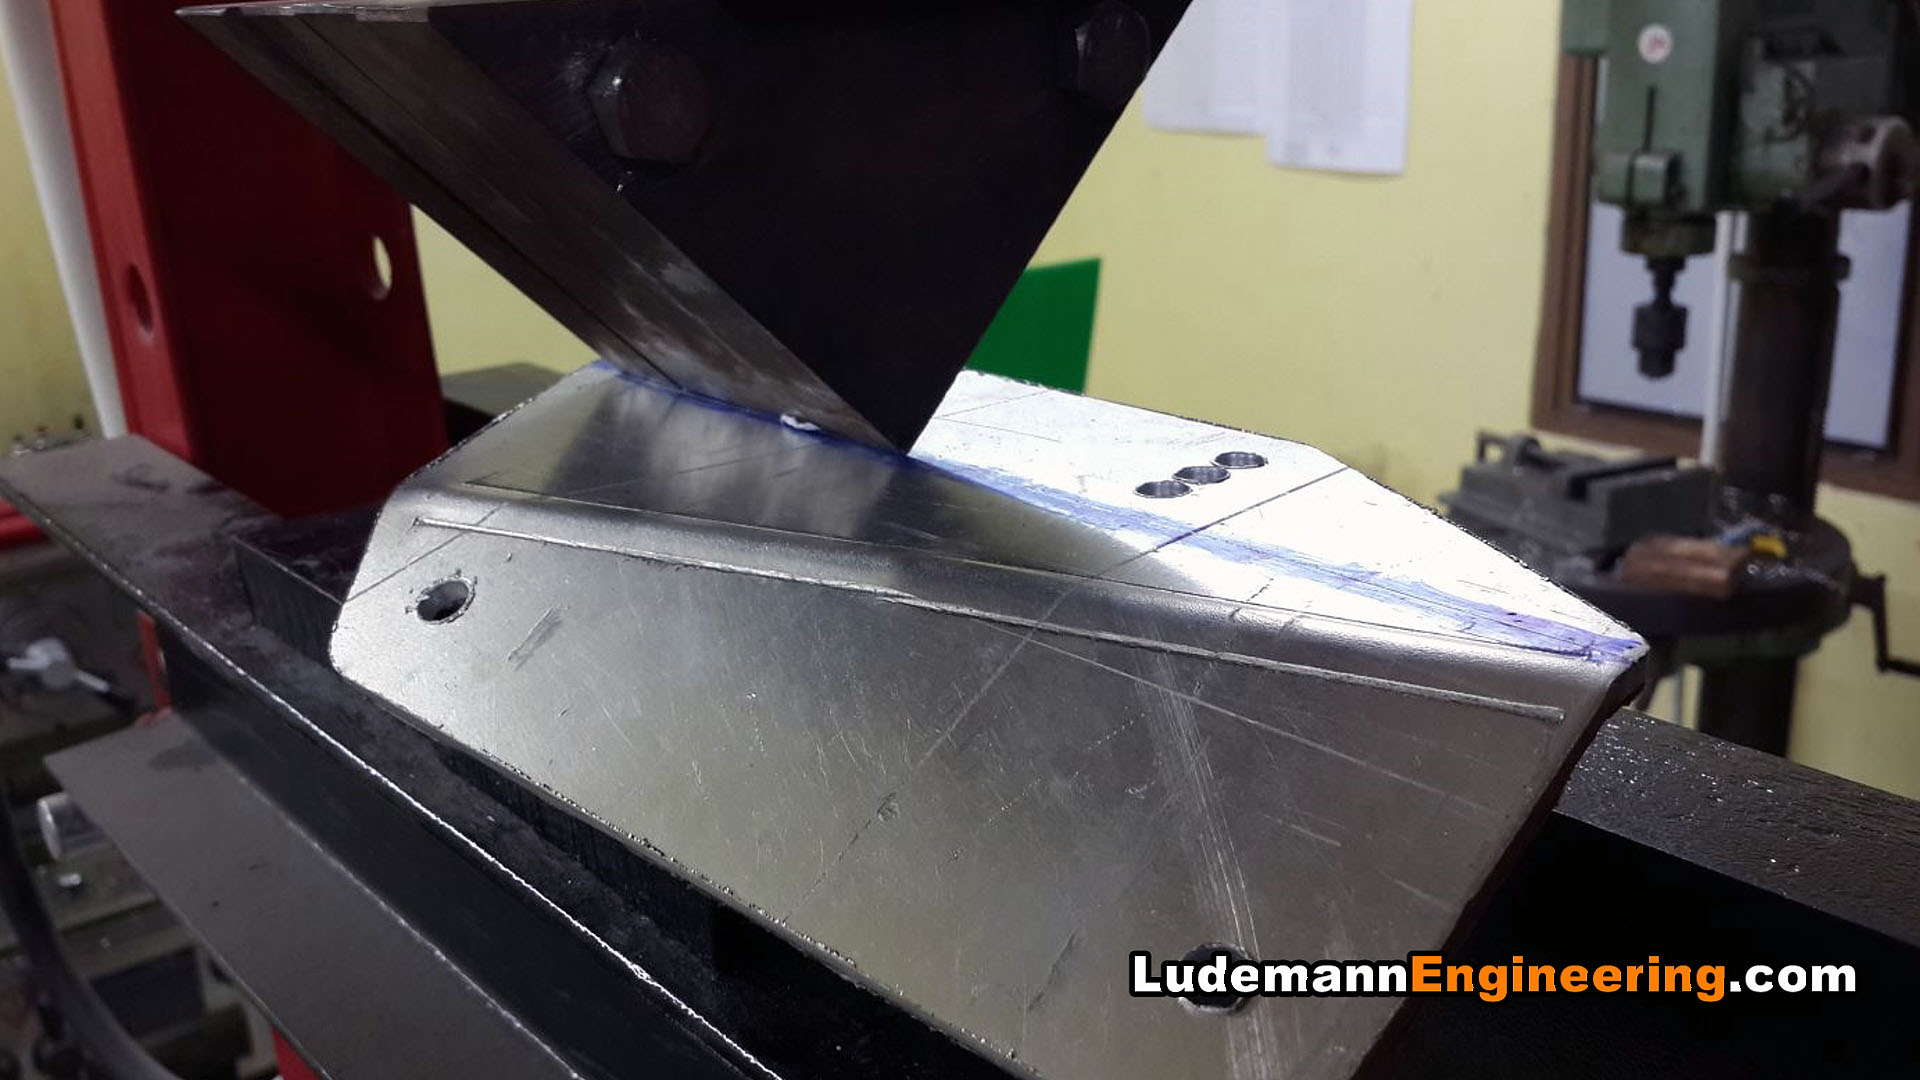
Trimming the engine cover.
-

-
Nose and tail molds gelcoated
-

-
Nose & tail fiberglass mat test fitting.
-

-
Nose & tail second layup coremat and fiberglass mat.
-

-
Finished tail fresh from the mold.
-

-
Nose & tail trimmed. Needed some gelcoat repair.
-

-
Tail test fitted onto engine cover.
-

-
Cockpit gelcoated
-

-
Cockpit ridges reinforced with resin and chopped fiberglass mat.
-

-
Fiberglass mat and coremat prepared for second cockpit layup
-

-
Cockpit underside after second layup with coremat clearly visible
-

-
Cockpit removed from mold. A little difficult as it could only be pulled straight off.
-

-
Cockpit so light it’s held up by a pinky finger.
-

-
Test fitting the parts so far onto the frame
-

-
Sidepod mold with gelcoat applied
-

-
Sidepod after second layup, showing coremat.
-

-
Sidepod just released from the mold.
-

-
Sidepod test fitting before trimming.
-

-
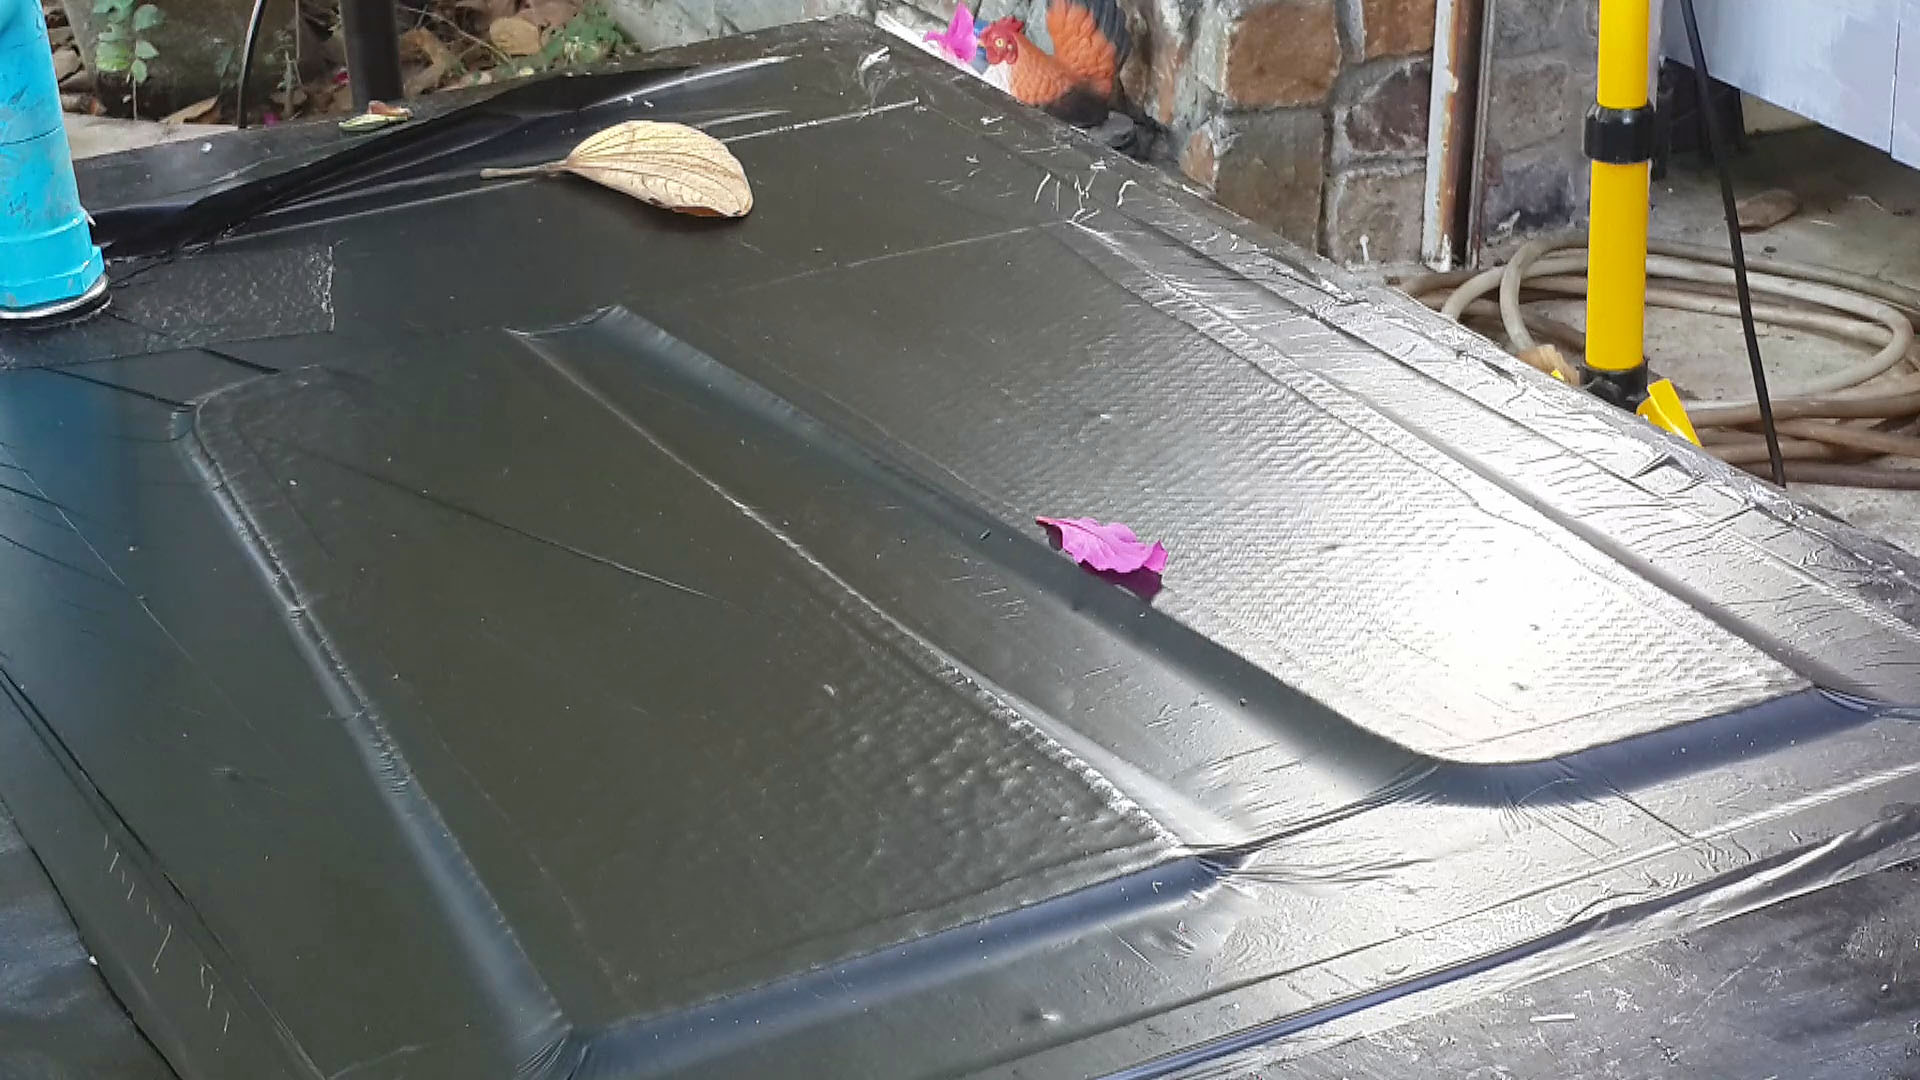
Keel mold ready for layup. Note duct-tape joggles for panel overlap.
-

-
Keel mold with gelcoat applied.
-

-
Keel after second layup showing coremat.
-

-
Main body parts all finished and fitted.
-

-
Another view of finished main body.
-

-
Joint between engine cover and cockpit.
-

-
Four body panels meet here. Joggles required some thinking.
-

-
Body from inside the cockpit.