Building the Front Wing & Mounts

Front Wing

Finished front wing on the car (endplates to be added after setting ride height)

Fabricating a Formula 1000 Race Car Diffuser

Diffuser

Finished diffuser mounted on car

I try to post updates only for completed projects, and since I’ve had several projects in progress it’s been a while since I’ve blogged. The diffuser is finally finished, so here are some pix and a video that explains it all:


Building the Undertray / Floor

Finished Undertray

Finished undertray after painting rests in the mold for curing

Building the undertray started with building a surface large enough to hold it. It’s larger than it looks, so we had to laminate  decorative plastic laminate onto two 4×8 foot sheets of plywood that had been trimmed to about 3×8 feet each. Then wood to form the side air dams was screwed down, and the radii filled with auto body putty. Next we cut plastic honeycomb and plywood pieces to fit, with the plywood located to pick up the attachment points on the frame and to protect the radiators on either side of the car. I built a hot-wire foam cutter from a tree saw handle, a piece of guitar wire, and an automobile battery charger, which I used to cut foam profiles for the leading edge of the floor. Then we laid the whole thing up with epoxy and two layers of fiberglass on the bottom and one on the top, and vacuum bagged the whole shebang. Vacuum bagging was made more difficult by the random tiny holes in the plastic sheeting, which we expediently fixed by adding a whole second sheet on top of the first.

After debagging we painted it and found out the hard way that you can’t paint enamel over fresh epoxy in a humid climate. It never dried, and had to be scraped off like tar. Epoxy paint worked much better. We then mounted the undertray on the car, drilling mounting points through the plywood in the correct places. We had to fabricate a mount for the front of the undertray, which was a little tricky as we didn’t want to remove the fiberglass body panel under the driver’s legs so everything had to be done from the outside. We fabricated a small pylon from aluminum sheet and pop-riveted and epoxied it to the bottom of the body.

Foam-Filling the Driver’s Head Surround

Foaming Action

Two-part polyurethane foam expanding to fill the driver’s head surround.

For proper protection in a crash, the driver’s head surround needs to be filled with foam. I placed an aluminum panel where I wanted the bottom of the foam to be, covered everything with plastic sheeting and poured two-part urethane foam into the cavity. The foam generates considerable pressure as it expands and cures, necessitating many iterations of trimming and fitting. I then sat in the car with the HANS device on, followed by many more iterations of trimming and fitting. Once the foam was cut to shape, I covered it in a single layer of fiberglass and epoxy, then painted it.

Part Eleventy-seven, In Which We Finally Lay Up a Body

Finished Body

Another view of finished main body.

Time to lay up the first set of body panels. In some photos you can see the joggles laid into the molds with duct tape so the panels will overlap smoothly. Nine coats of mold release wax and there were no problems releasing parts from the molds, although at times I did have to work a bit. Each mold required about a day of finishing work to remove ripples due to waviness in the body buck. As I’ve said before, don’t build a body buck the way I did it. Instead, immediately after completing the X-Y grid of cross sections, lay about 3mm of fiberglass on top to give a good solid surface, then use body putty on top of that. You’ll be finished in half the time it took me. The only place you should use foam is where actual carving is required due to the complexity of the shape, like the sidepod air inlets. Yes, I know the main roll hoop forward braces are still not there. Patience…

One problem I found out the hard way is that a chemical in some brands of duct tape inhibits gelcoat curing. In the end, gelcoat that had been in contact with some kinds of duct tape never fully cured and had to be cleaned out with acetone. Also, the joggles formed with duct tape were too sharp for the fiberglass mat to conform to, resulting in bubbles under the gelcoat that have to be scraped out and reworked. Gelcoat is probably more trouble than it’s worth given its weight, so next time I’ll just prime and paint the body panels to finish them. The sharp joggle corners need to be filled in with fiberglass roving before laying mat on top.

Last of the Molds

Mold Set

Completed set of molds

Since this is the last of the molds, in the photos below I’m showing each of the layups, for a total of three. Target thickness for the molds is 4.8mm, three times the expected thickness of the parts to be molded.

Fiberglass Mold Layup, Parts 4, 5, 6…

Probably the main thing to explain here is how I create the overlaps in the molds. The edge of a mold is marked on the body buck with duct tape, which will leave an impression in the mold for later trimming of the finished part. Then after removing the mold from the buck, I lay in a strip of 1″ duct tape touching the existing tape, then another strip touching that one. I then remove the first two strips of tape, leaving the edge for the next mold with a 1″ overlap.

Fiberglass Mold Making- Nose, Tail, Sidepod

Time to make molds!

Finishing the Body Master Pattern

I ended up applying ten coats of SikaFloor epoxy to try to build a hard base for further finishing. Even this gave me problems, though, as it appears that the two-part urethane foam continues to expand indefinitely. Every time I would finish a section, next time I looked at it, it needed more work. For a long time I just thought my eyes were getting more demanding, but I finally realized the body buck was slowly changing shape, bulging out between the ribs. Once I figured this out, I just tried to finish the molds as fast as possible. I also installed air conditioning in this part of the workshop, and kept it running at night to avoid temperature-cycling the pattern.

If you’re thinking of doing this yourself, a better way to do it would be to just fiberglass straight over the plywood forms, using tape or something to support the first layer of fiberglass while curing. About a 3mm fiberglass shell should do it. Then use body putty right over that, using standard auto-body finishing techniques. That way there’s no foam between the ribs to push outward and mess up the shape. The only time you need foam is when you’re really sculpting something, like the sidepod air intakes. Oh, by the way, plan on about 1,000 hours of work.

After the floor epoxy there were several rounds of primering, puttying and sanding, followed by two coats of black two-part epoxy paint. This was sanded with 400, 800, 1200, and 2000 grit wet-or-dry sandpaper, then machine-polished with rubbing compound. The top layer was 9 coats of “Hi Temp Mold Release”, applied by hand strictly according to the instructions.

When I started to think about how to split up the body panels, I realized that the “horse collar” head surround would be impossible to remove when the car was finished, as it would interfere with the main roll hoop. This necessitated going all the way back to the SCCA rule book, where I took another look at the minimum cockpit opening specifications. I found that I could meet the minimum cockpit opening size with a fixed head surround, but I had to cut the “arms” off it. So, you get to see that surgery in the photos below.

Building the Body Buck: Part 2, Putty, Prime, Repeat

Sikafloor

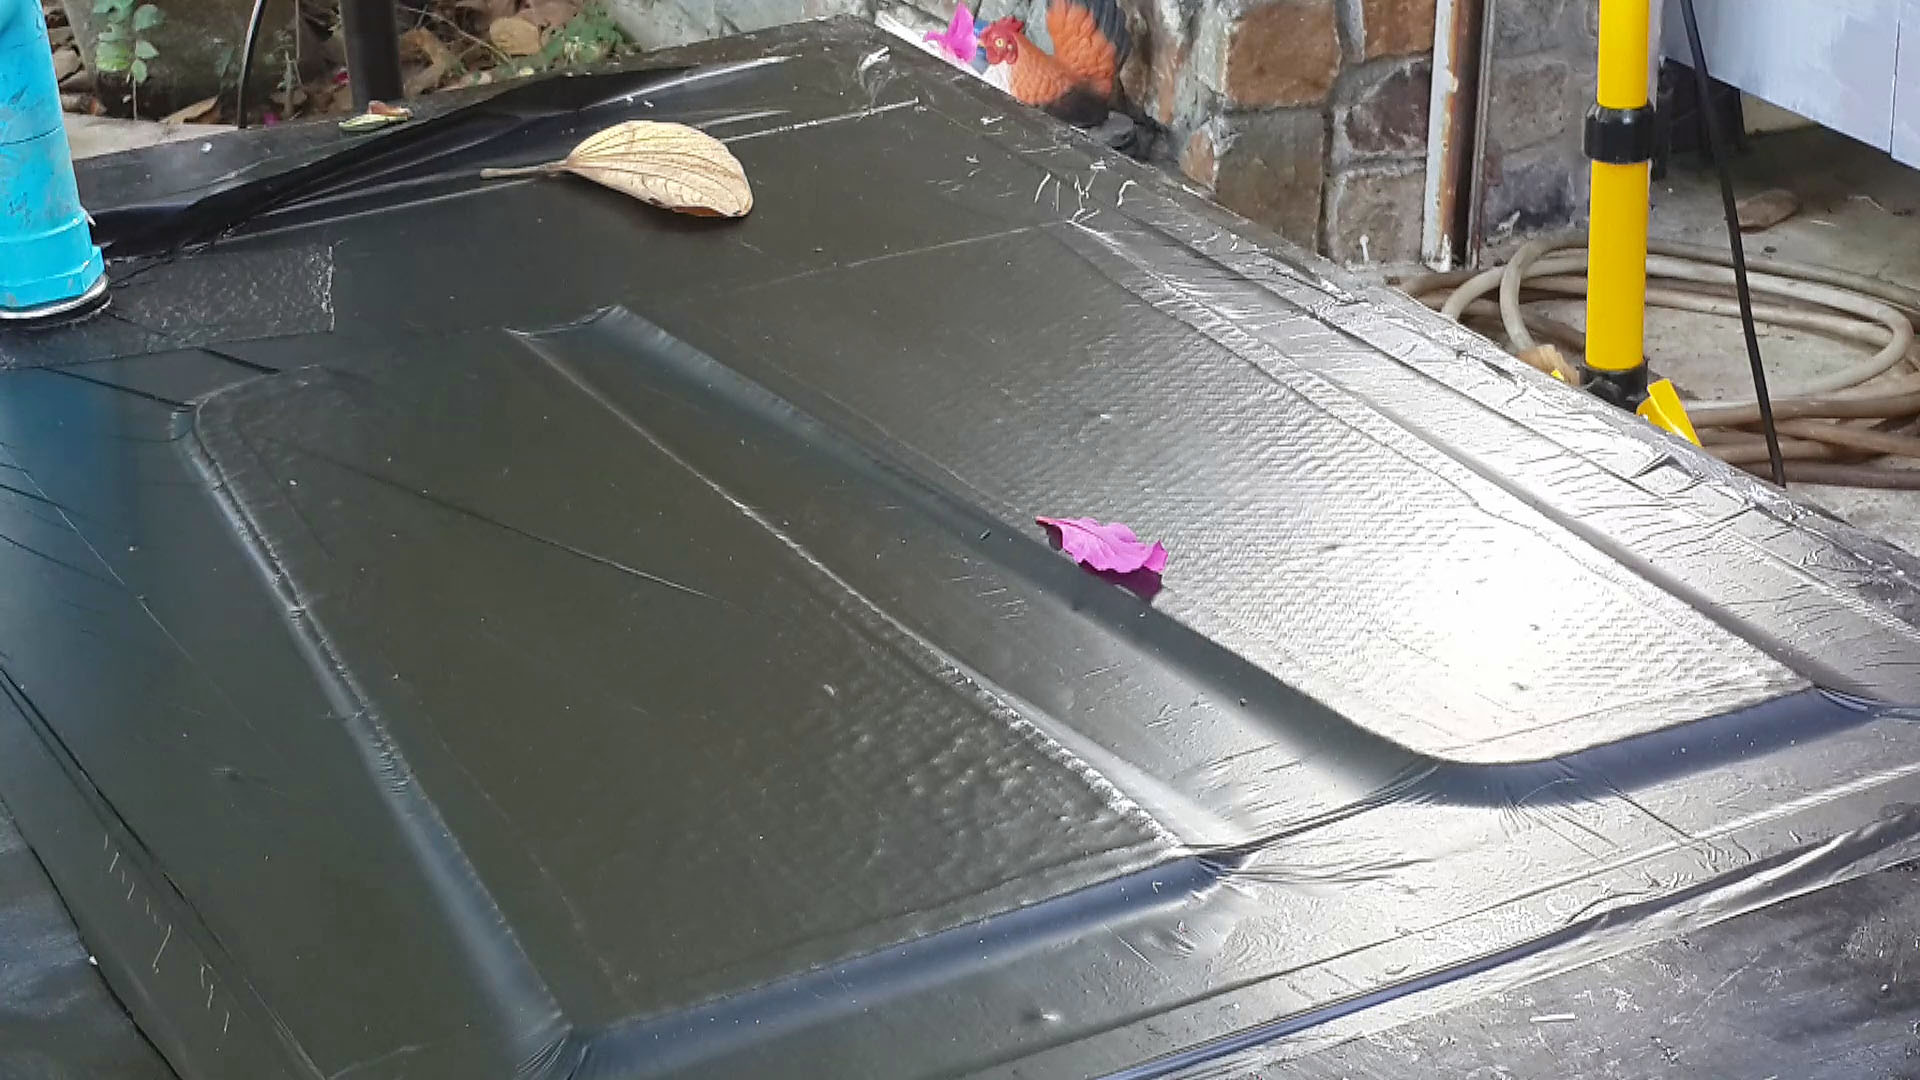
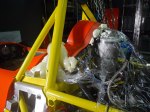
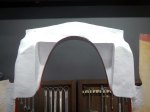
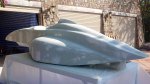
After the first coat of ultra-hard Sikafloor epoxy

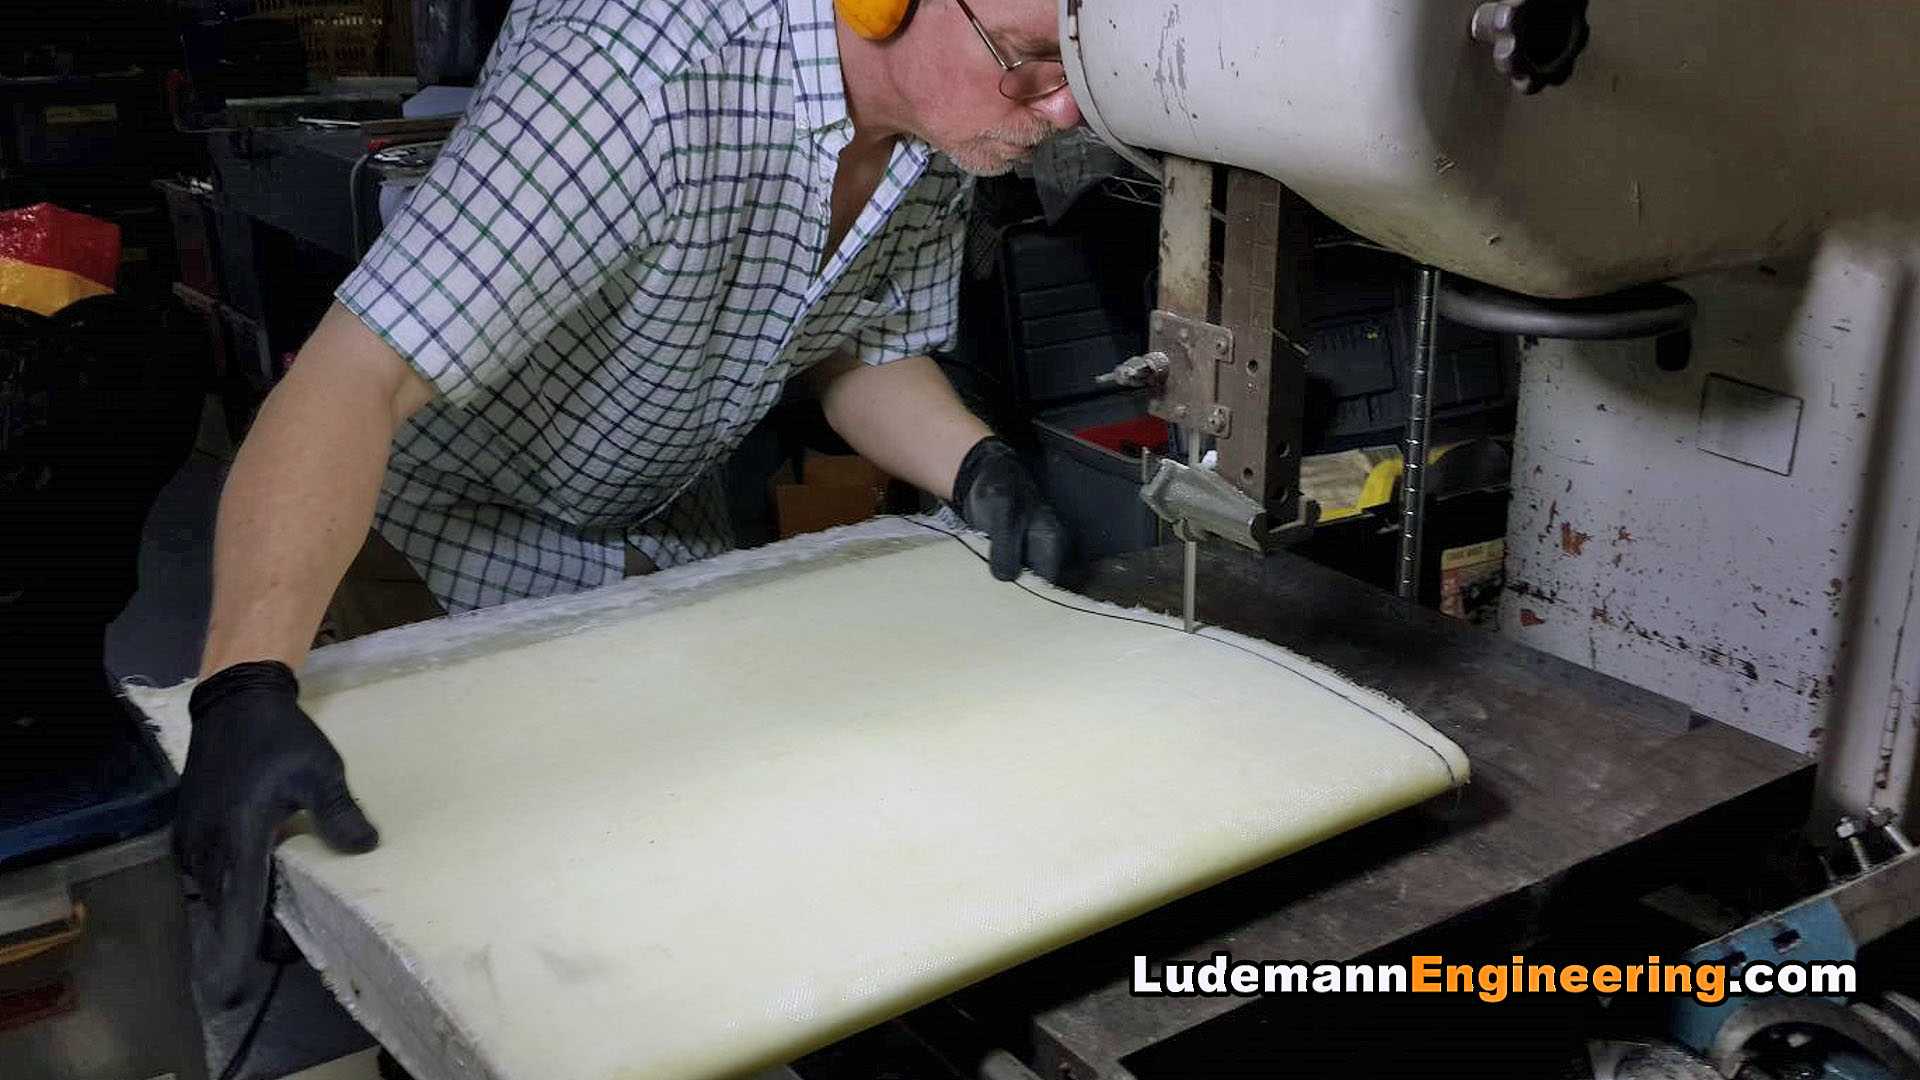
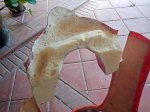
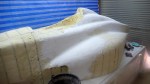
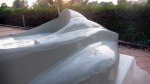
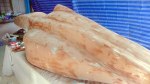
Here’s where the heavy lifting begins. Many, many passes of plaster or putty, sanding, and primer. The first step was to coat the entire body in plaster, which is best done the messy way: just plunge your hand into the bucket of plaster and smear it on the body buck. Plaster is much better for filling voids than foam is. Especially the insulation foam that comes in a can. Don’t, under any circumstances, use the canned spray foam. It remains flexible permanently, and keeps slowly expanding over a period of weeks or months. If you use it, as I did, to fill voids, you’ll spend days and days digging it out wherever it reaches the surface, refilling the holes with auto body filler.

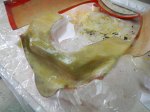
I discovered that spackling compound, made for smoothing house walls before painting, works great after the plaster. Plaster has a short working time, and you end up mixing lots of little batches when you’re filling ripples. The spackling compound goes on smoothly, you can work it just about as long as you want, it sands extremely easily, and it sands to a feather edge. I also tried gypsum, but it has the disadvantage of remaining water soluble as it doesn’t cure.

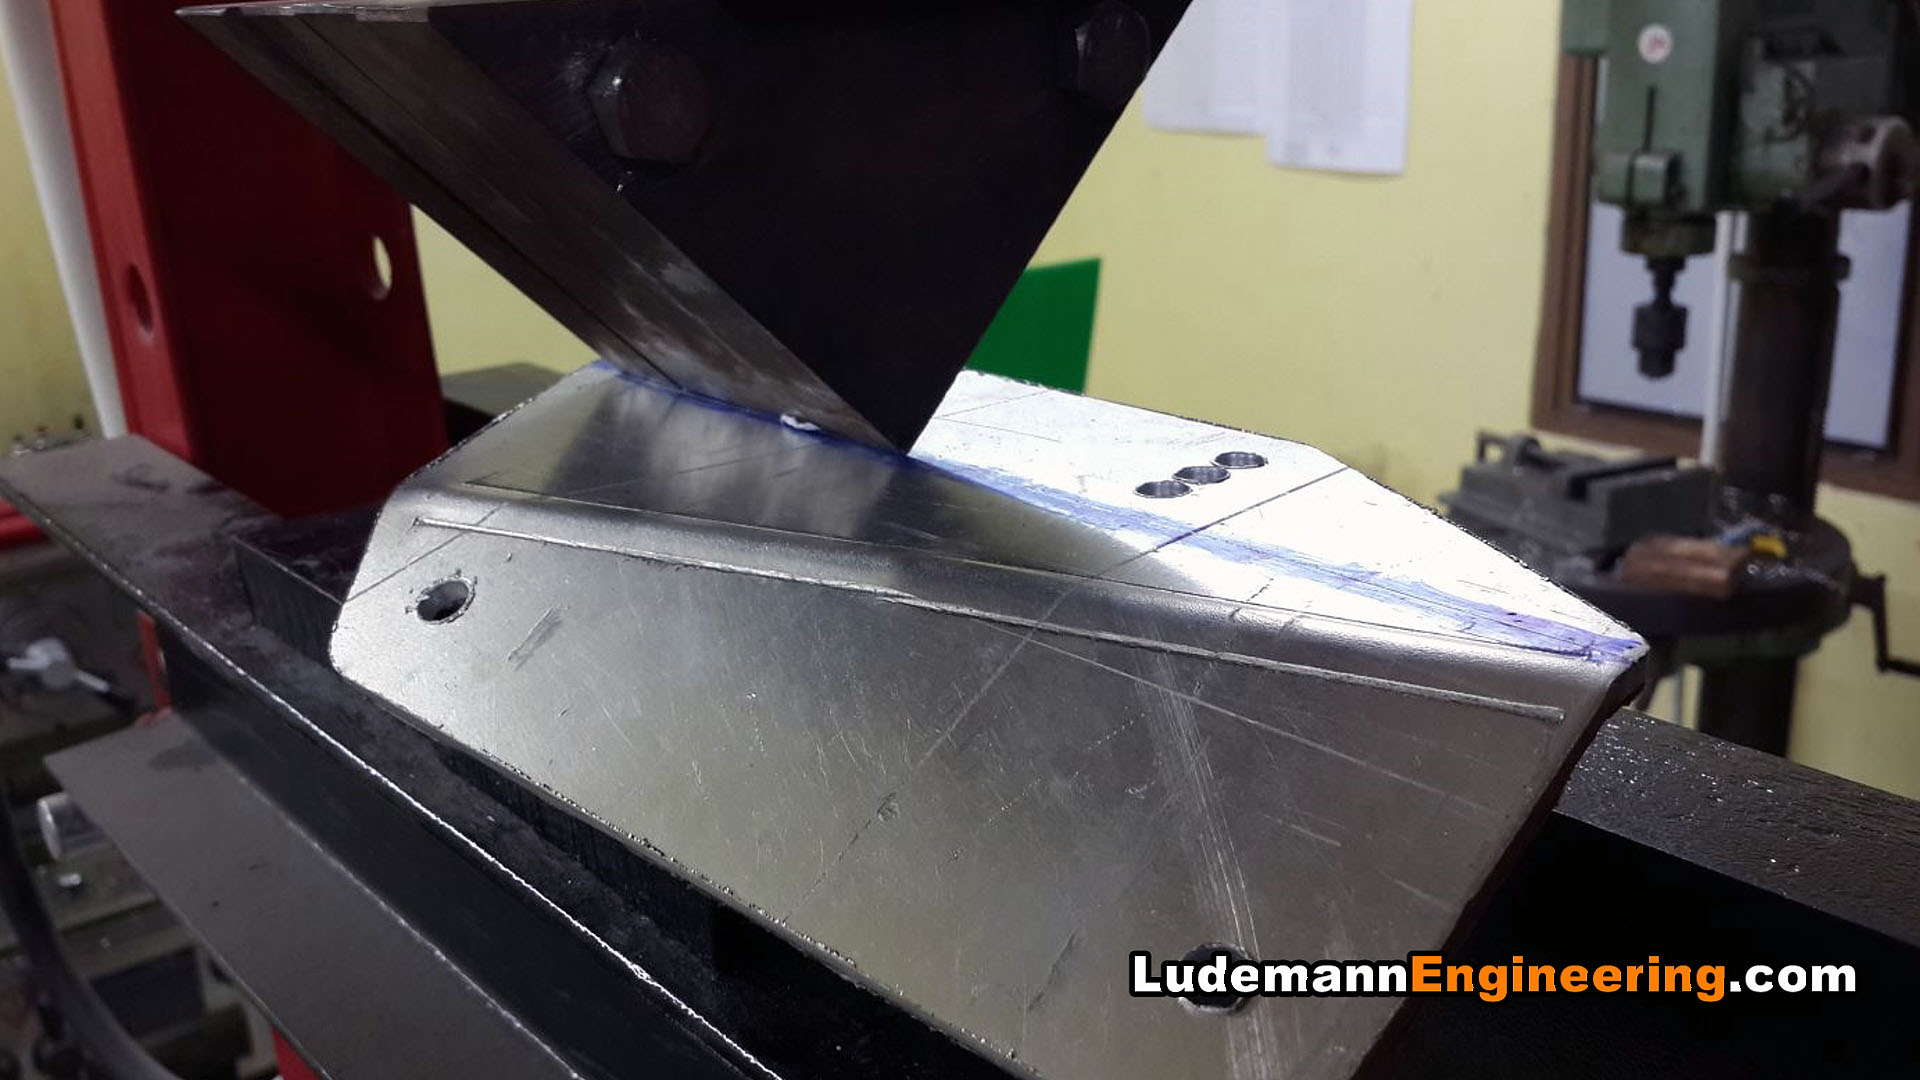
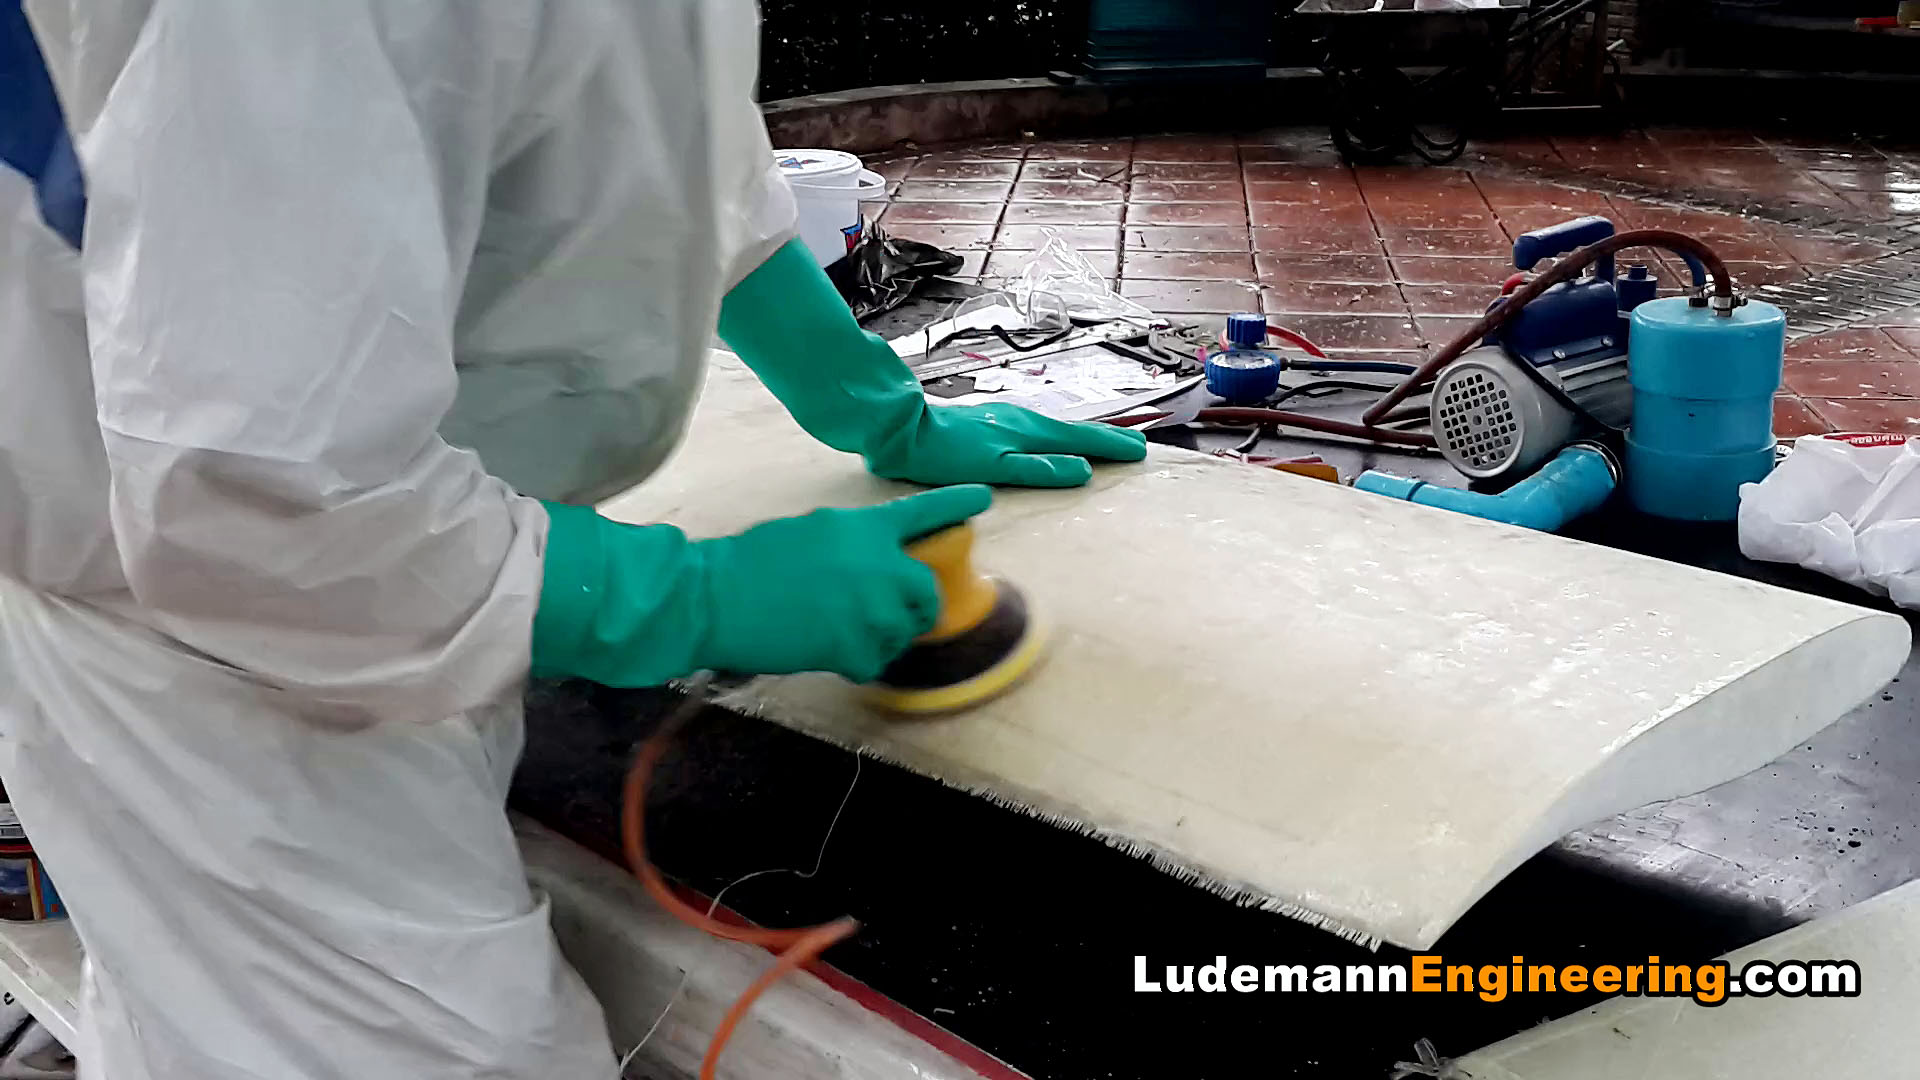
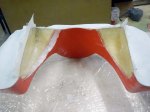
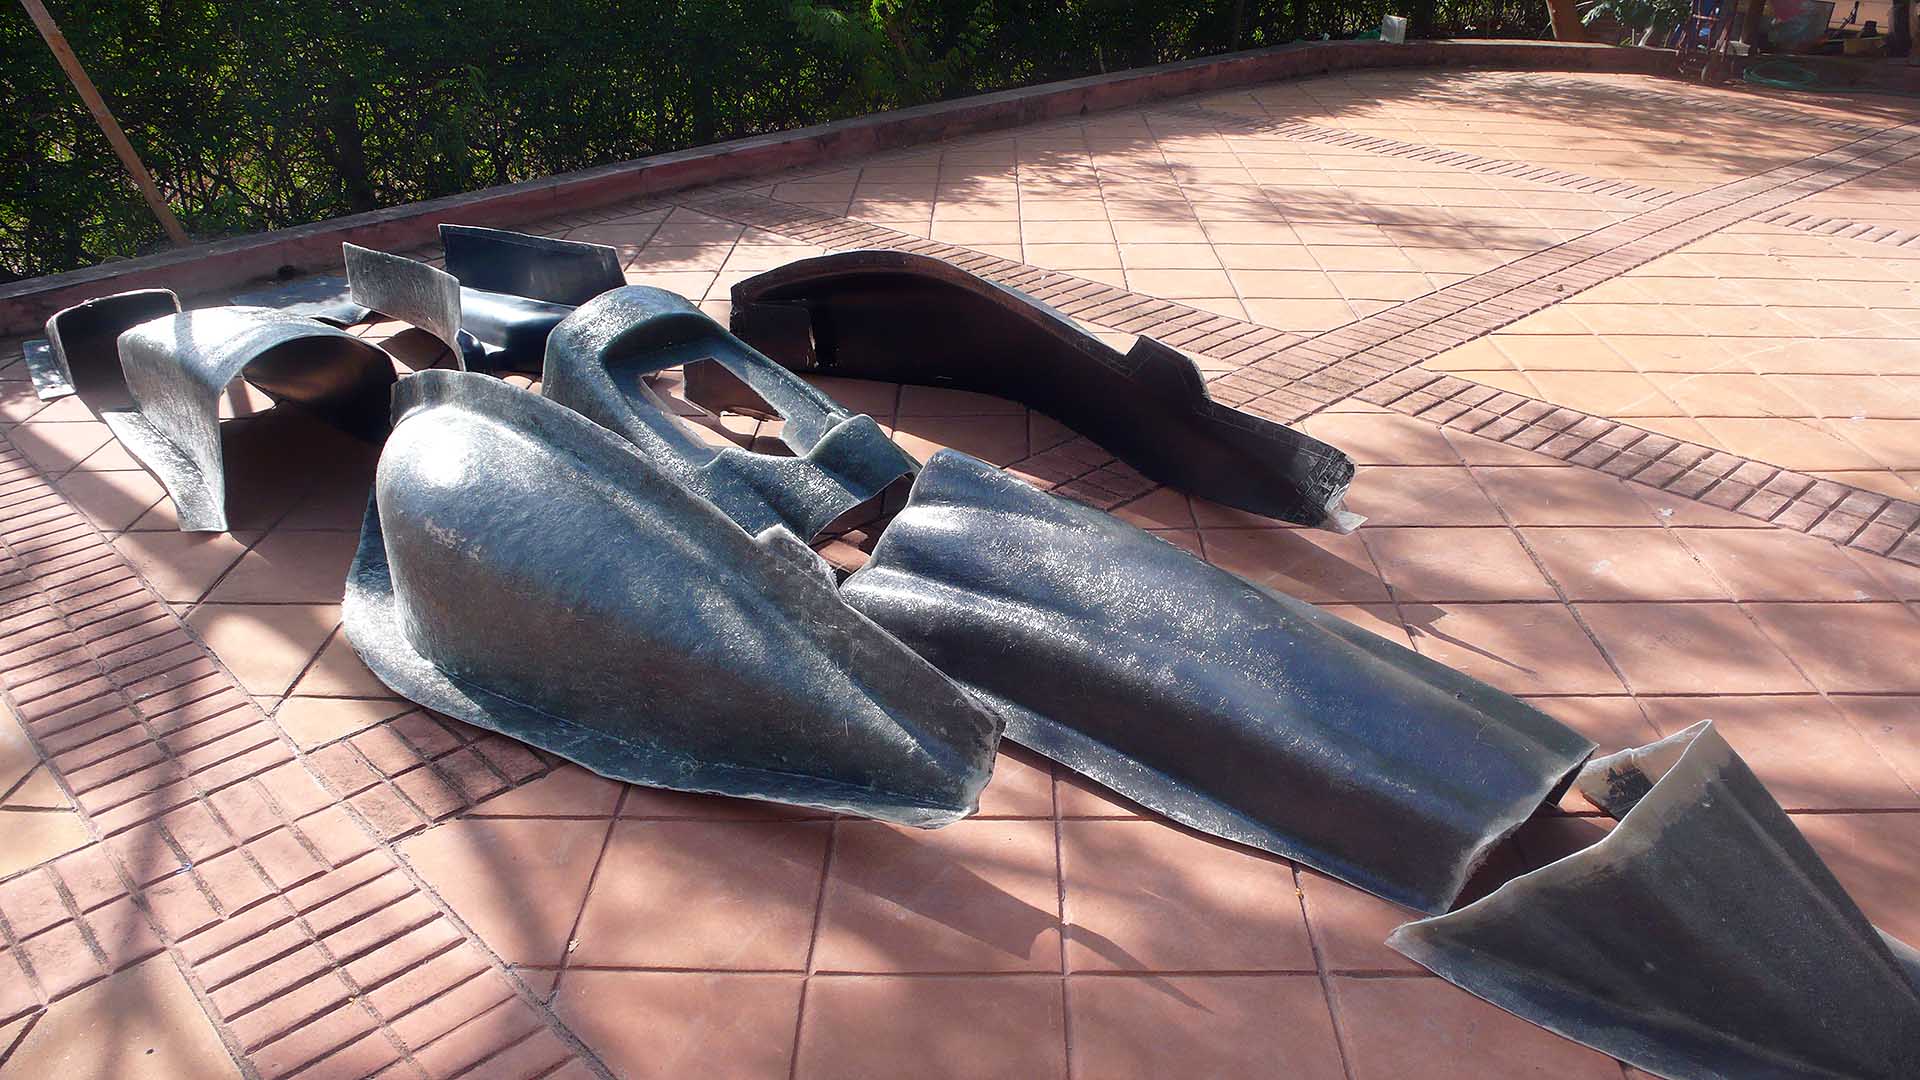
I put on a gallon of Jotun Penguard 2-part enamel filler, then found the only auto-body paint supply shop in town and discovered “sprayable body putty”, so I followed up with a couple of gallons of that, spackling and sanding between coats. About the third coat of sprayable body putty, I noticed that the body buck was swelling badly where it had been in the sun. Uh-oh. It turns out the foam expands and contracts with temperature. After that I kept the car only in the garage, never letting sun touch it. It took 2-3 weeks to fix that mistake, now using auto body filler and a double-action (DA) air-powered sander with 40 grit sandpaper, a great combination for this work.

So when I finally got that mess cleared up, I wasn’t too keen on spraying another coat of primer and potentially distorting the surface again. Instead, I went straight to an extra-hard epoxy used for floors, called Sikafloor. This is a very unusual paint as it’s intended to be used only on horizontal surfaces, where it remains liquid for a long time as it flows to become perfectly flat. I sprayed it on, almost unthinned, an “off label use”, but it worked great for my purposes.