
Here’s what we’re building, sort of. Rather than build a CAD model of an actual assembly of stringer and rib parts, I extruded cuts into the solid model so that the slots will appear in the correct places when I make cross-section drawings at the appropriate locations. This is actually harder to visualize than you might think. I wasn’t sure it would go together flawlessly, especially since the cuts in both the ribs and stringers went to two different depths depending on the typical height of each region. I didn’t want long floppy sticking up from the cuts:
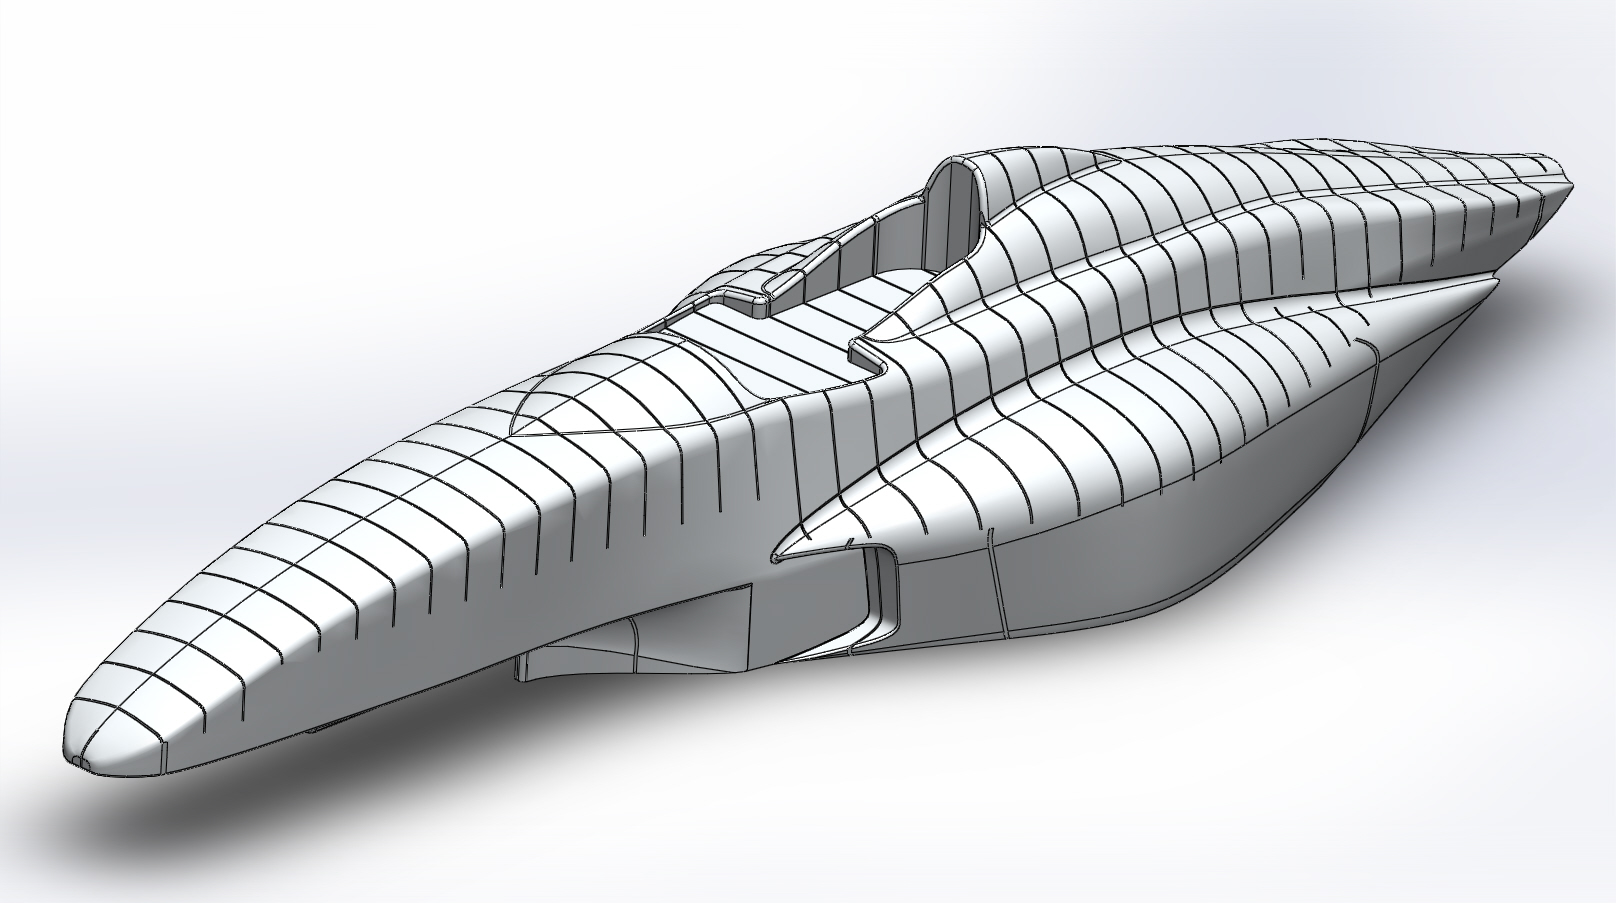
Original 3D CAD model showing slots for assembling plywood ribs and stringers.
-

- Longitudinal stringer drawings printed on A0 paper and pieced together
-
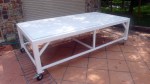
- First we need a table to build it on…
-

- All cross sections cut from 3mm plywood and assembled on the table. THANKS DAVE!
-

- Starting the process of filling in the voids, using wadded newspaper topped with two-part foam
-

- Foam filling continues…
-

- Cut to shape with hacksaw blade, belt sander, and sandpaper
-

- And continues…
-

- And continues…
-

- etc.
-

- Filling and trimming as I go.
-

- Many applications left voids, which I attempted to fill with more foam.
-

- Using whatever is convenient to constrain the foam. Here, bungee cords hold old pillows.
-

- And continues…
-

- This foam was difficult to work with. No reaction for 30 sec., then hard in 20 more sec.
-

- Foaming is finished.
-

- Filling some voids.
-
- Trimming almost finished.
-

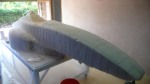
- Just the driver’s head fairing left to trim.

Howdy buddy, just wondering if you had tips on how you slip your model to mack the buck formers? im new to solidworks and struggling to find how to do this, for a small pedal car.
Create a Solidworks drawing and insert a small side view of the car body. Draw vertical lines on that view where you want the cross sections. Select one line and choose Insert>Drawing View>Section. Scale it to 1:1 and print it as a PDF. Do this for each line, and space the lines 10cm apart. Worked for me…
I just came across this post and i gotta say…..I’m glad I viewed this several times and eventually read every last word…..as I eventually read about your issues regarding the “ever-expanding-foam” issues, I knew I had to come up with another plan of attack! So thank you so much for saving me a bit of time and money! I had already purchased quite a few cans of the spray foam….Great Stuff, to be exact, for my current project. However, after reading about your results, I’m opting to use some expanding foam products from Smooth-On that I’ve used in the past and had good results….I thoroughly enjoyed this project of yours! Excellent work sir! 🙂
Thank you very much!