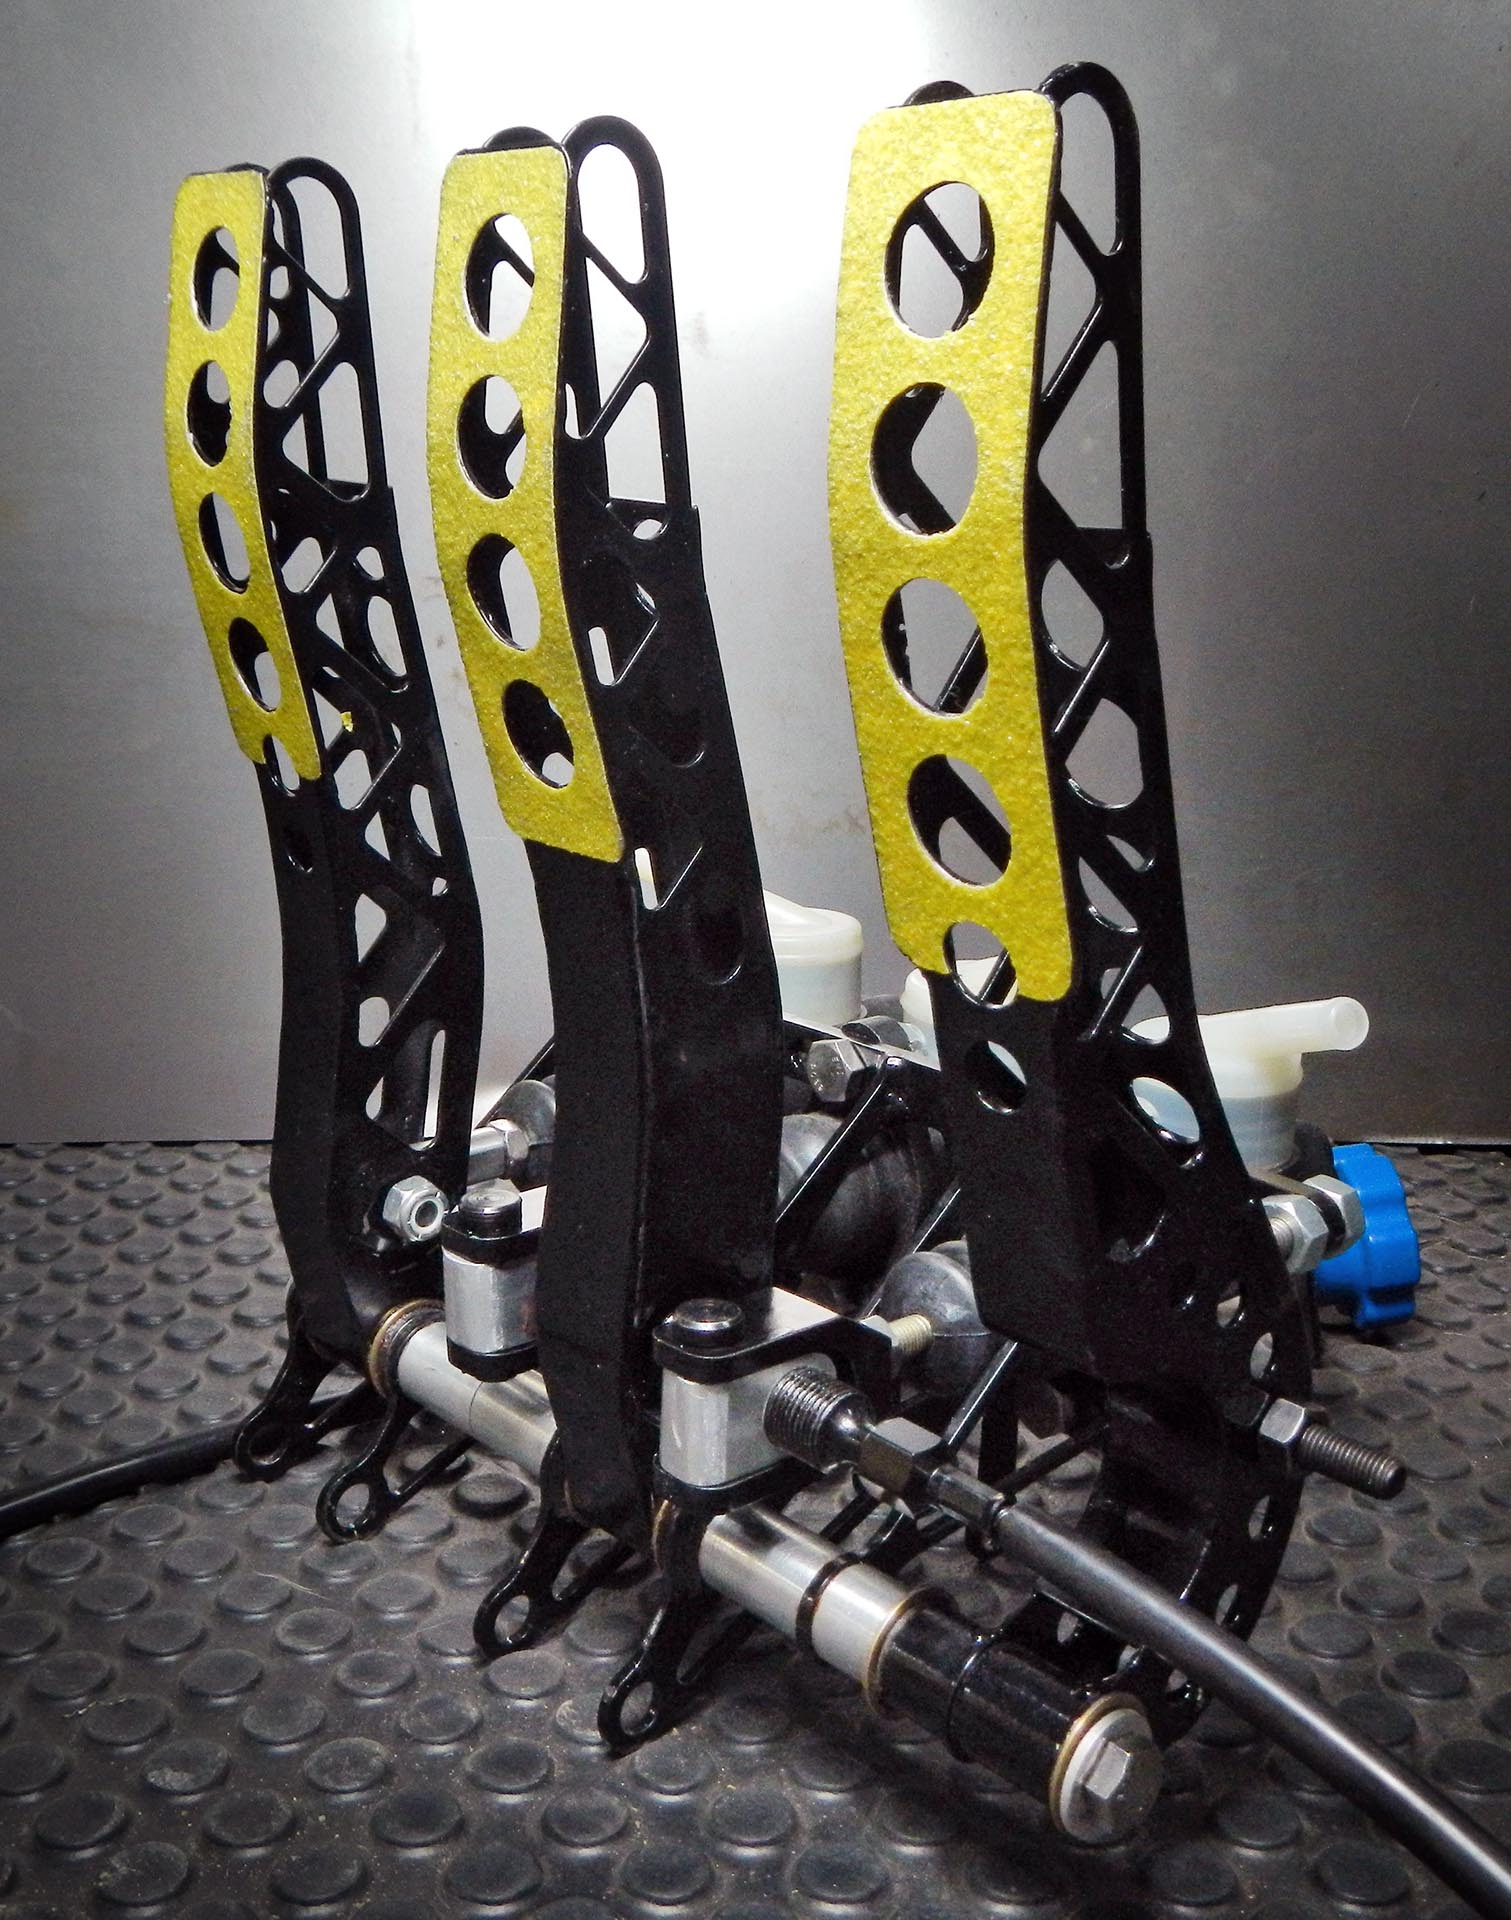
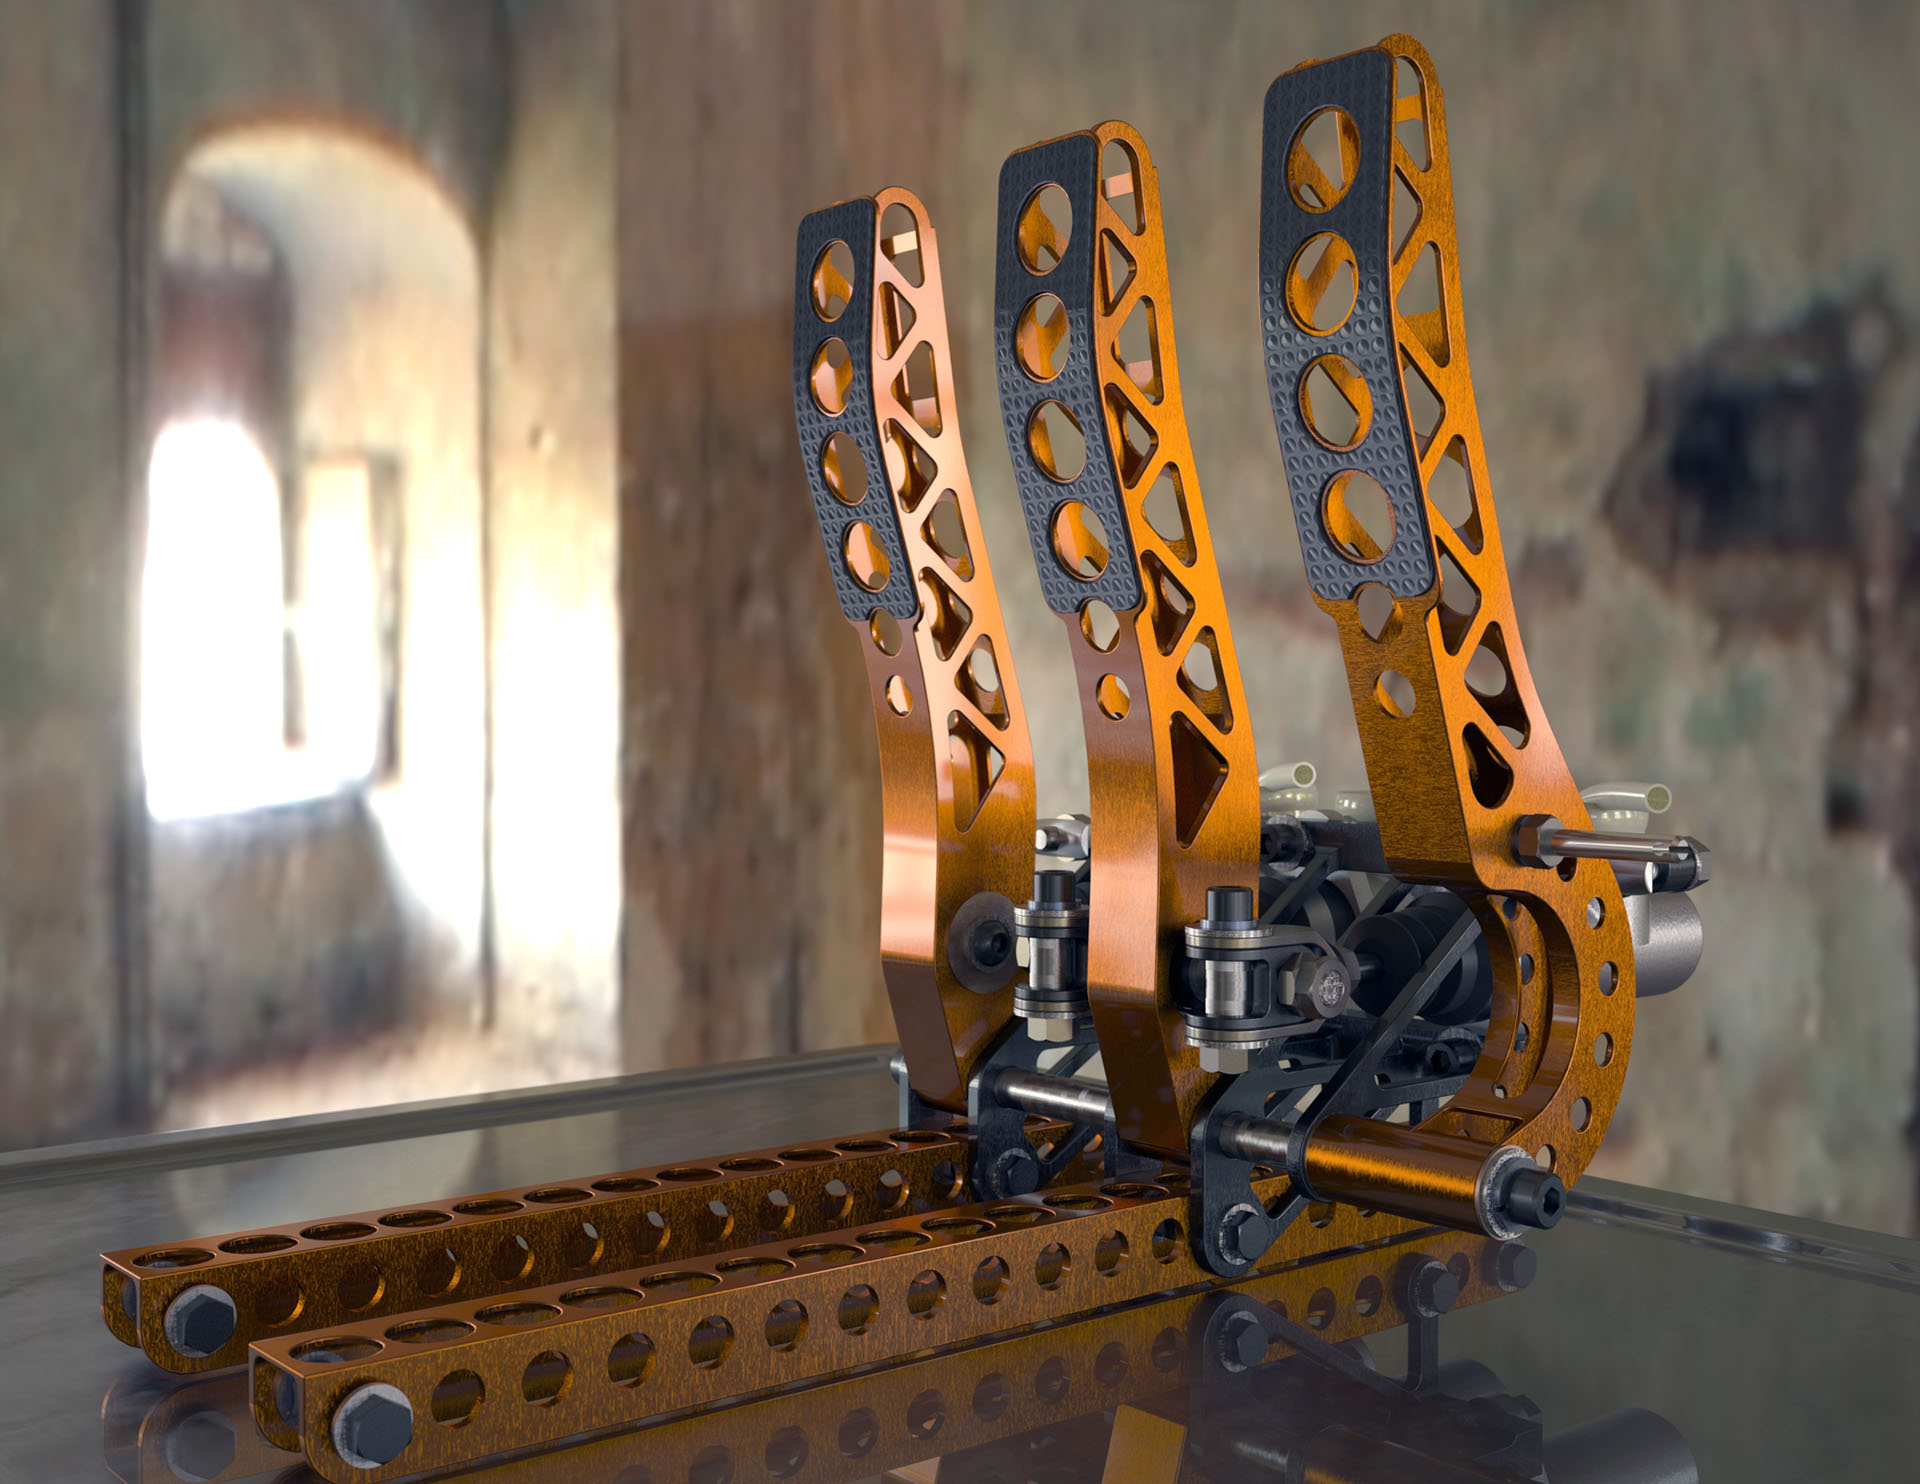
Yet another video update. Here you’ll get a tour around the car pointing out the newest additions, followed by fabricating the fuel swirl pot and mount, the first power-up of the electrical system, mounting components on the instrument panel, drilling the firewall for fuel lines, fabricating braided stainless steel fuel lines, building and installing the throttle pedal cable pull rod and the cable itself, building the ECU mounting platform, and machining the rear sprocket to fit the differential.
Tag Archives: formula 1000
Youtube Video Update 6
I have some catching up to do; been concentrating on just finishing the car. I uploaded this video to Youtube on January 29, 2015, so in case you missed it…
Youtube Video Update 6 <– Click the linky thing to watch.
Youtube Video Update 5
I just uploaded Video Update 5 to Youtube for those who like their pictures to move. This video shows the mounted differential, engine, shifter, fire extinguisher, dashboard, steering column, master cylinder reservoirs, “floor”, pedal cluster, steering rack, suspension rocker arms, front springs & shocks, fuel pump (moved later), and shoulder harness mounts.
Painting the Frame
As you’ve probably figured out from looking at some of the photos below, I’ve painted the frame. I used Jotun Penguard 2-part epoxy right over bare metal after cleaning the metal with wire brushes and acetone. It took a few days as I had to let it cure before turning it, and all four sides had to be painted in turn in order to get every spot. No magic here, just lots of elbow grease.
- Clean the frame. Cleeeeeeaaaaan the frame.
- Painting the bottom first
- Ready to paint the top
- Top painted
- Painting one side
Shaping the Dashboard
I wanted to have a generic surface for mounting various switches and different permutations of gauges and data loggers, so I built a dashboard by shaping it from a flat sheet of aluminum. I thought it would only take a day, but it took a bit longer. Given that this is only my second attempt at metal shaping, the result is surprisingly good and it ways next to nothing. Take a flat sheet of aluminum and start pounding the crap out of it until its the right shape… (I may be oversimplifying a bit here) then weld the corners.
- Cutting out the dashboard opening from the cockpit surround
- Making a template
- Template transferred to flat sheet of aluminum
- Intermediate stage of metal shaping
- Finished, ready for painting
Fabricating the Pedal Cluster
Here’s a big project that spread out over a number of months. I’m aggregated the photos here and attempted to make them tell a coherent story.
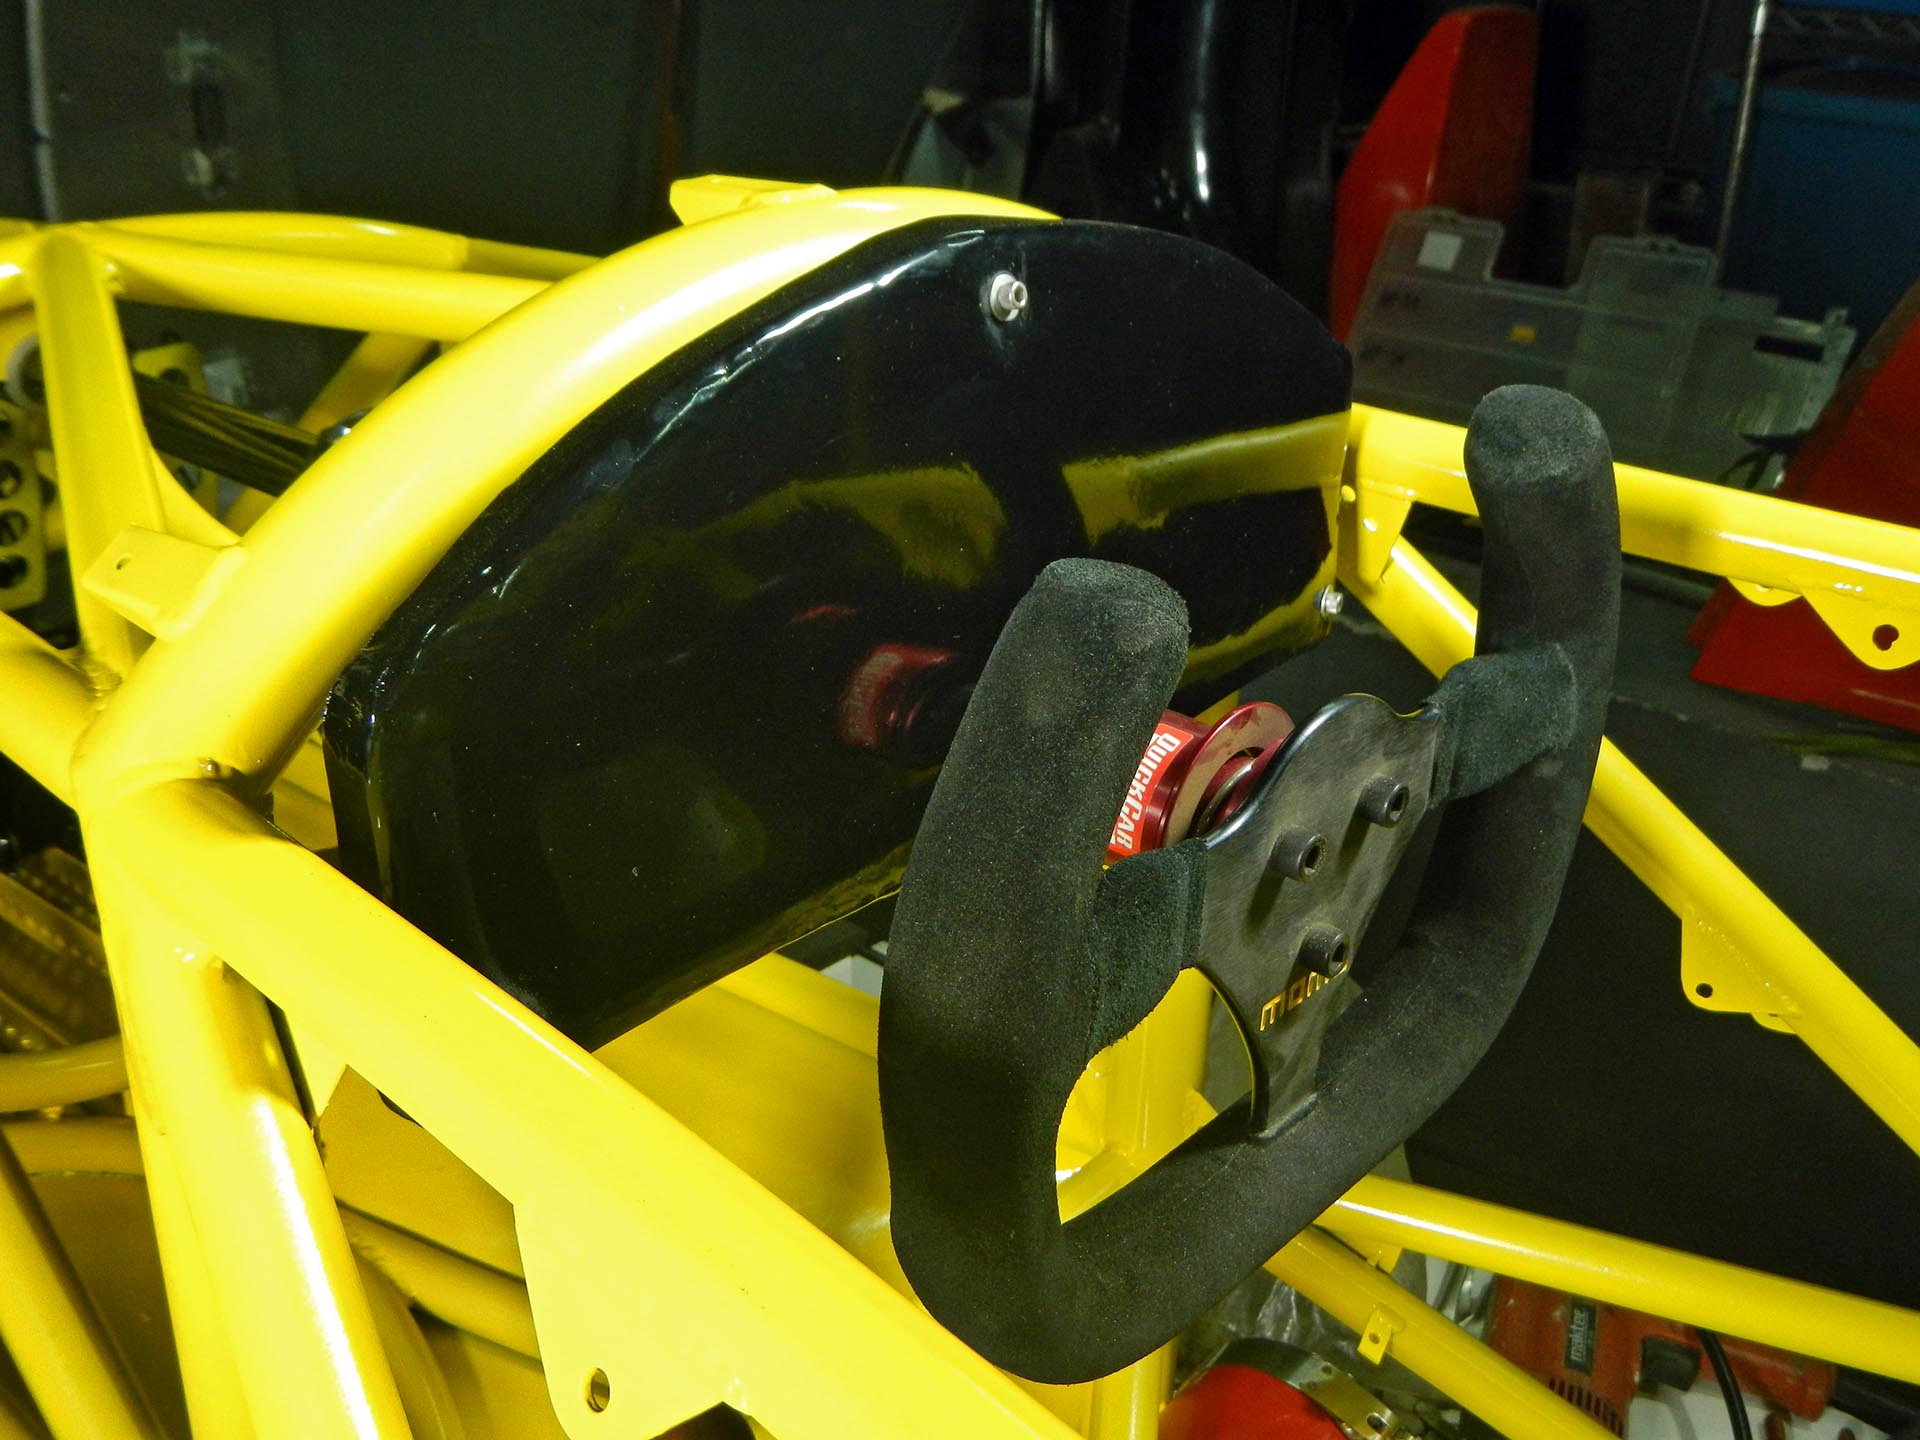
The cluster as a whole can be adjusted forward and back for drivers of different heights. The gas pedal is adjustable for foot travel, throttle cable travel and left/right position. The brake pedal height is independently adjustable, and brake bias is adjustable from front to back. The hydraulic clutch pedal is also independently adjustable for height.
Many of the original pieces were laser cut from steel, then bent and welded to form the complex shapes required. Some of the bushings were CNC turned, but most were made by hand. The master cylinders, brake bias adjustment cable, and the nuts and bolts were purchased, with everything else custom made. This includes the brake bias adjustment assembly, which forced me to learn how to cut threads on the lathe. It’s not as easy as it looks. Take a look at the brake bias adjustment bar– it has three sets of threads independently cut on a manual lathe, three diameters, two snap rings and a threaded hole. Good fun! Due to changes in the steering rack mount, the main pedal bracket had to be widened as you can see in the photos.
- Laser cut parts arrive
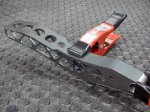
- Laser cut gas pedal parts before welding
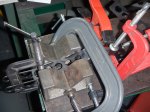
- Gas pedal parts clamped for welding. I like clamps.
- Clutch pedal clamped for welding
- Clutch pedal after welding and grinding
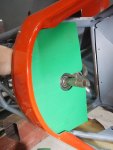
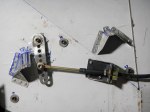
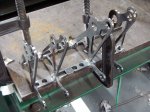
- An early trial fitting
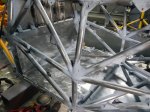
- Testing fit inside the frame
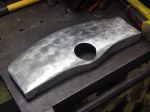
- Widening the main bracket
- Finished main bracket
- Lots of parts in primer now fitting together
- Black epoxy paint
- Finished except for brake bias assembly
- New Chinese calipers: 2″ = 51.9mm LOLWUT?
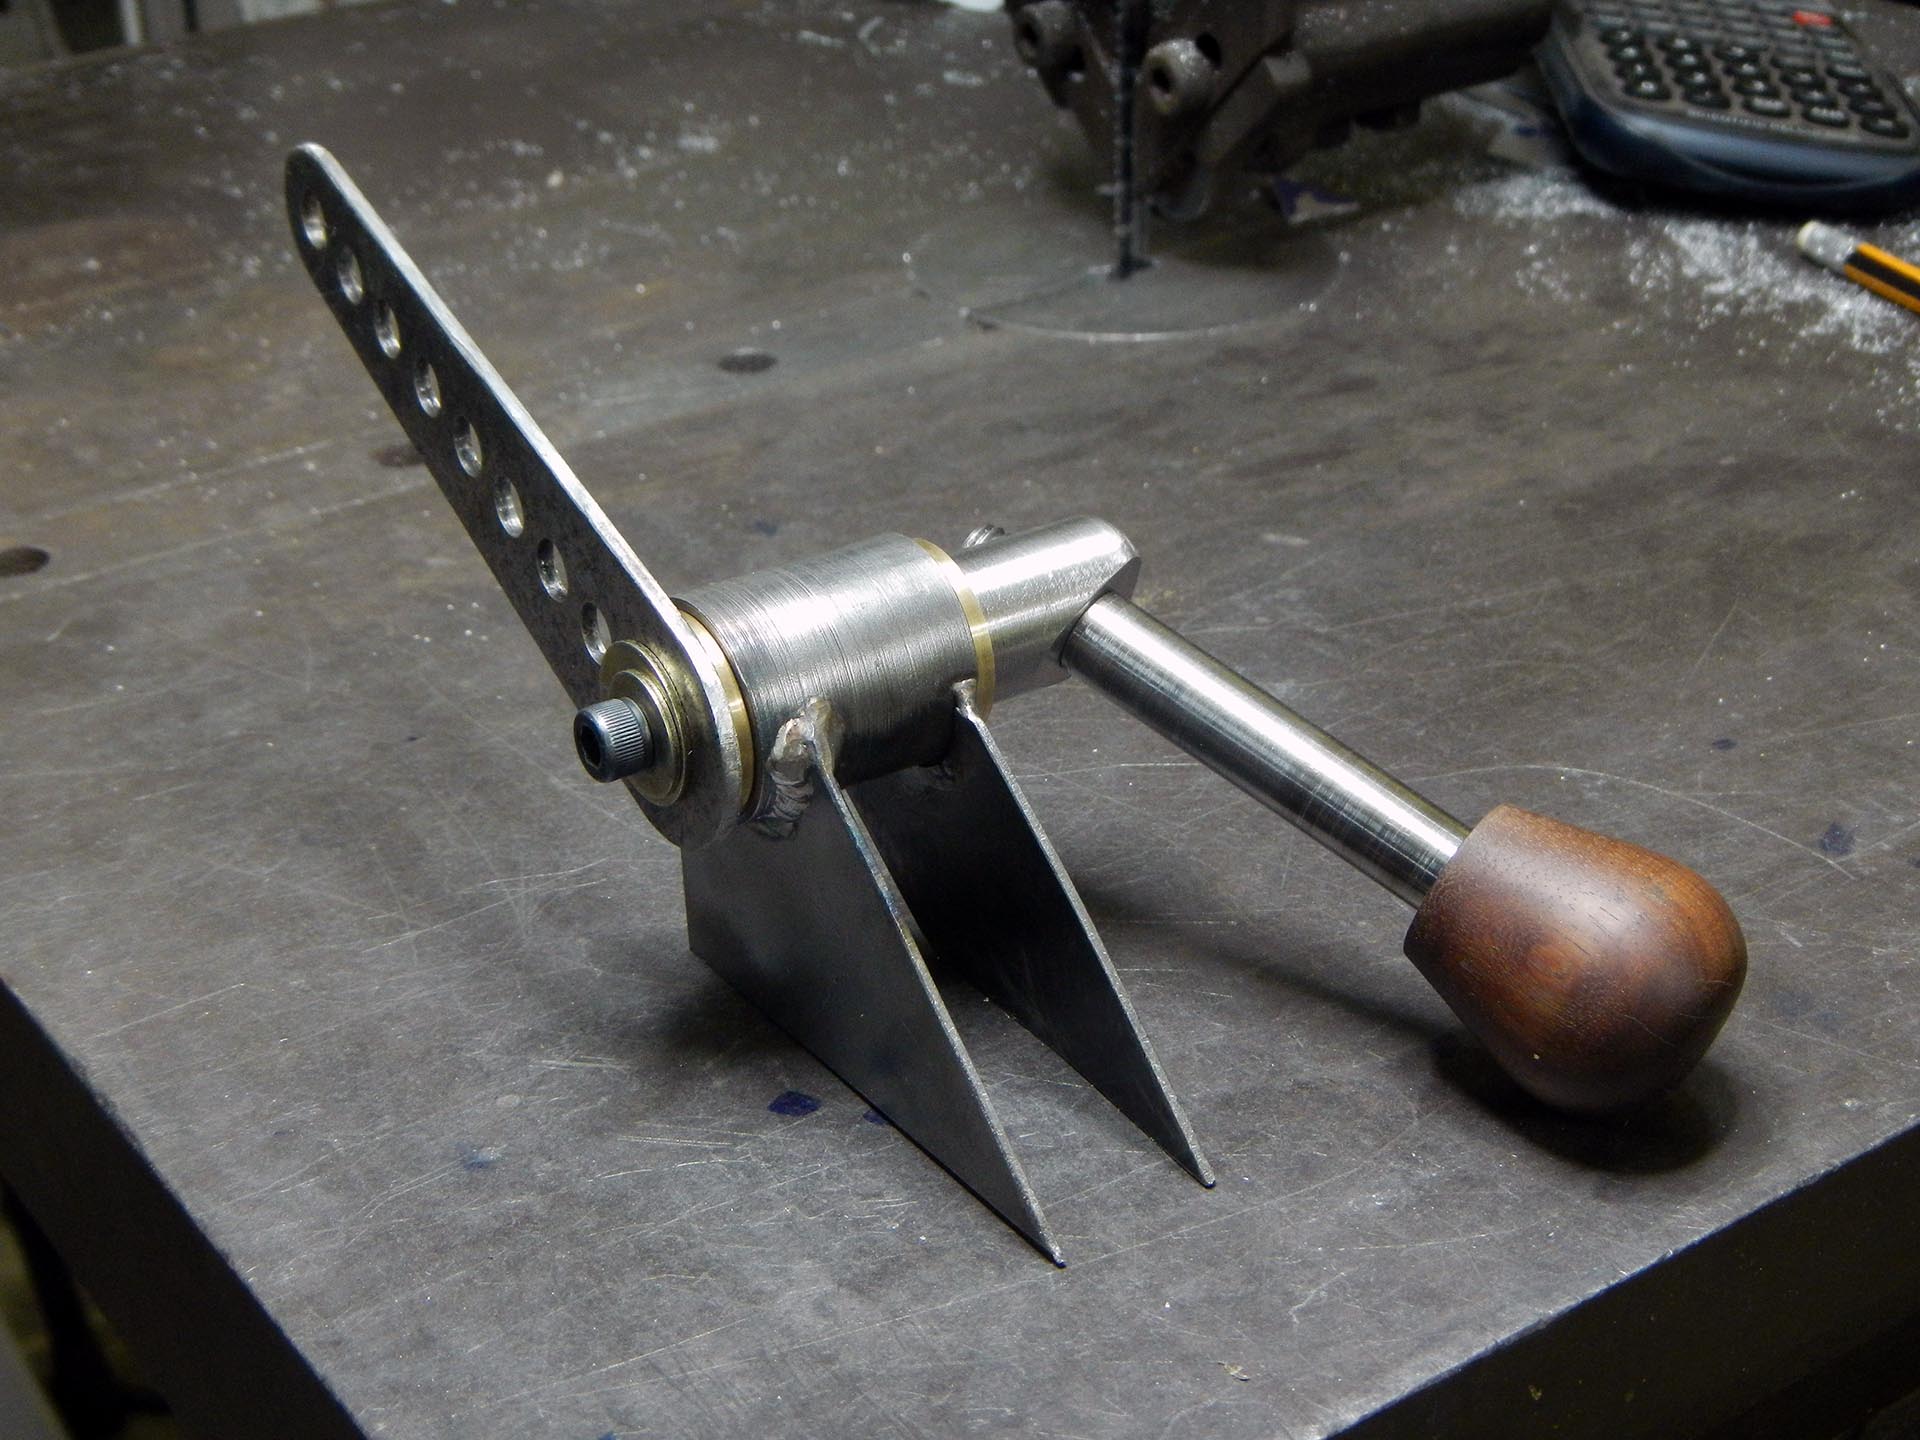
- Milling part of the brake bias adjustment bar assembly
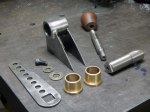
- Brake bias adjustment parts
Fabricating the Shifter Assembly & Linkage
I looked through a bunch of street car transmission shifter cables, brought a couple of them back to the lab, and decided on one that was the correct length, light, and low friction. Everything else was fabricated…
The car will use a Suzuki GSX-R1000 engine, which has a 6-speed sequential transmission, meaning the shifter only has two movements: shift up, and shift down.
- Components of the shifter
- Forward end of shifter cable with fabricated mount
- In place on the side of the cockpit
Attaching the Body
Not much to say about this one… Just lots more piddly little brackets. The large bracket at the tail is necessary as that will be where the rear impact absorber will mount. Had to make some changes just behind the driver’s left shoulder to allow access to the fuel filler.
- Sidepod brackets scribed from templates onto sheet aluminum
- Sidepod brackets cut out
- Sidepod brackets bent, ready to install
- Locations are finalized with duct tape, then brackets are riveted
- Sidepod brackets also hold the cockpit surround
- Keel cover side mounting brackets
- Keel cover side brackets riveted in place
- A view of the keel, leg cover and nose mounts
- Front cockpit surround and leg cover mounts
- Rear sidepod mount
- Rear engine cover mount
- Right front engine cover mount
- Left front engine cover mount
- LF engine cover mount in place; side panel to be cut here for fuel filler
- Upper tail mount
- Tail mounts, separate from crash-structure mounts
- Rear impact attenuator / absorber / crash structure mount
Paneling the Cockpit
While the sides of the cockpit already have side-intrusion panels on the outside, they will also have a second panel on the inside to prevent the seat foam from extruding between the frame tubes and pushing on the outside panels, something those outside panels aren’t equipped to properly resist. The interior panels also must follow the SCCA rule against stressed skins that requires chassis attachment points to be more than 6 inches apart. Due to their different shape and size, the interior panels have a completely different mounting pattern and can’t share any of the exterior panel mount points. Thus, many more tabs are cut and welded on.
The seat back is formed by the fuel tank and three additional pieces of aluminum, shaped at the sides to provide shoulder support on the front while providing space and access at the back to the fuel pump on one side and the fuel filler on the other. The center section is removable to access the shoulder harness mounting points.
- Test fitting the right side cockpit panel, view from inside
- Left side clamped in place
- Separate mounting tabs for interior panels
- Left side mounting tabs welded in place
- Left side cockpit panel installed
- Test fitting the seatback
- Seat back panel had to be cut in 3 pieces; right piece shoulder panel shown
- Left shoulder panel provides access to fuel filler
- Seat back center panel with shoulder harness cutouts
Fabricating the Fuel Tank
The fuel tank consists of an FIA FT3 certified fuel cell bladder, custom-made for this project by Aero Tec Laboratories, inside a custom made steel/aluminum container. The bottom and back of the container are made from a single laser-cut and bent sheet of steel, while the sides, front, and top are laser-cut and bent aluminum pieces. It’s carefully designed so the interior is completely smooth with all rivets and fasteners away from the fuel cell. All the rivet holes were laser cut also, meaning there’s only one way to fit it together– the correct way. This did make it very hard to install, however, as tolerances are zero to negative.
Inspecting or replacing the fuel cell bladder should be possible by drilling out all the rivets on the diagonal front panel and removing it. Not something I want to do very often.
- The basic pieces: laser cut steel and aluminum panels, professionally bent
- Back & bottom in place
- Steel is primed before further assembly
- Sides in place
- Fuel cell bladder in place
- Fuel and vent nipples weren’t correct; fixing…
- Top of fuel tank is now correct
- Front panel installed


